Showing posts with label green. Show all posts

Tuesday, 22 December 2015

Brioche Hat Madness and Plans for 2016

Brioche Hat Madness

The last couple of weeks I was rather productivly knitting! Hats are great projects for gifts, they are finished in a reasonable time and give this feeling of accomplishment :)

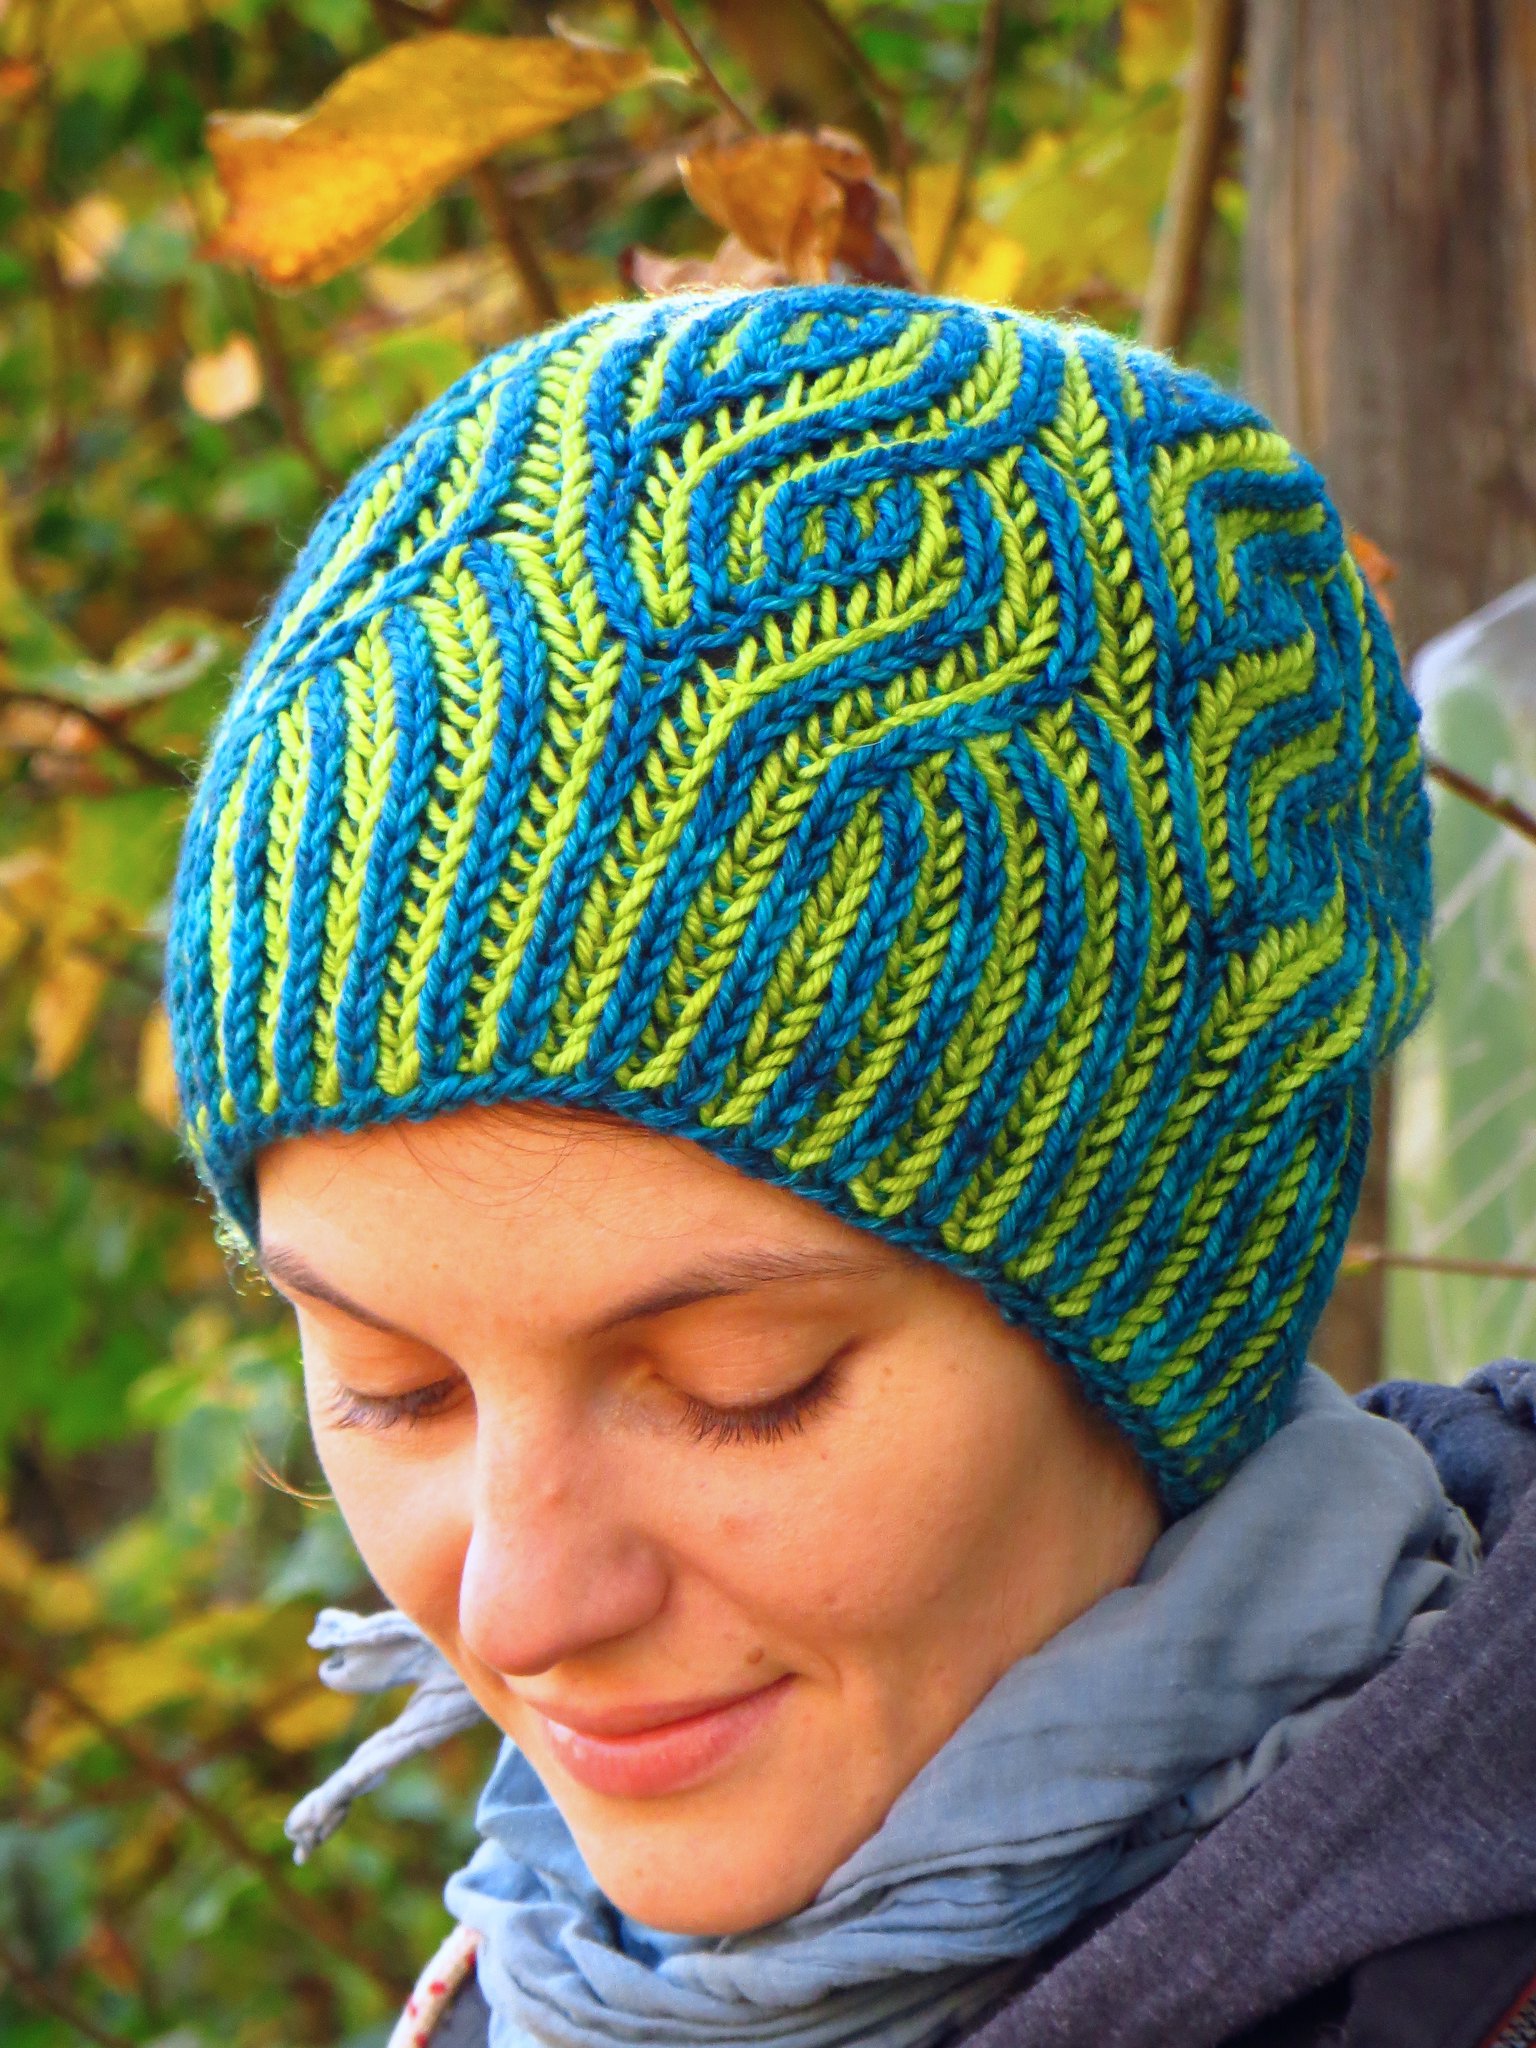
I discovered the pattern Liguria by Katrin Schubert on ravelry, and immediately had to try this. It was my first time knitting two-color brioche and I fell completely in love. If you have never tried this, you really really should!
What came afterwards was that my family  asked for getting hats like that one too, but in their favorite color.... so all in all I knit three Ligurias!

My second Liguria in "The Grateful Dead" colors for my dad (Madelinetosh DK Baltic and a leftover red yarn from my stash)
the first Liguria I made in Madelinetosh DK Baltic & Grasshopper
my third Liguria made for my mum in Madelinetosh DK Lepidoptra
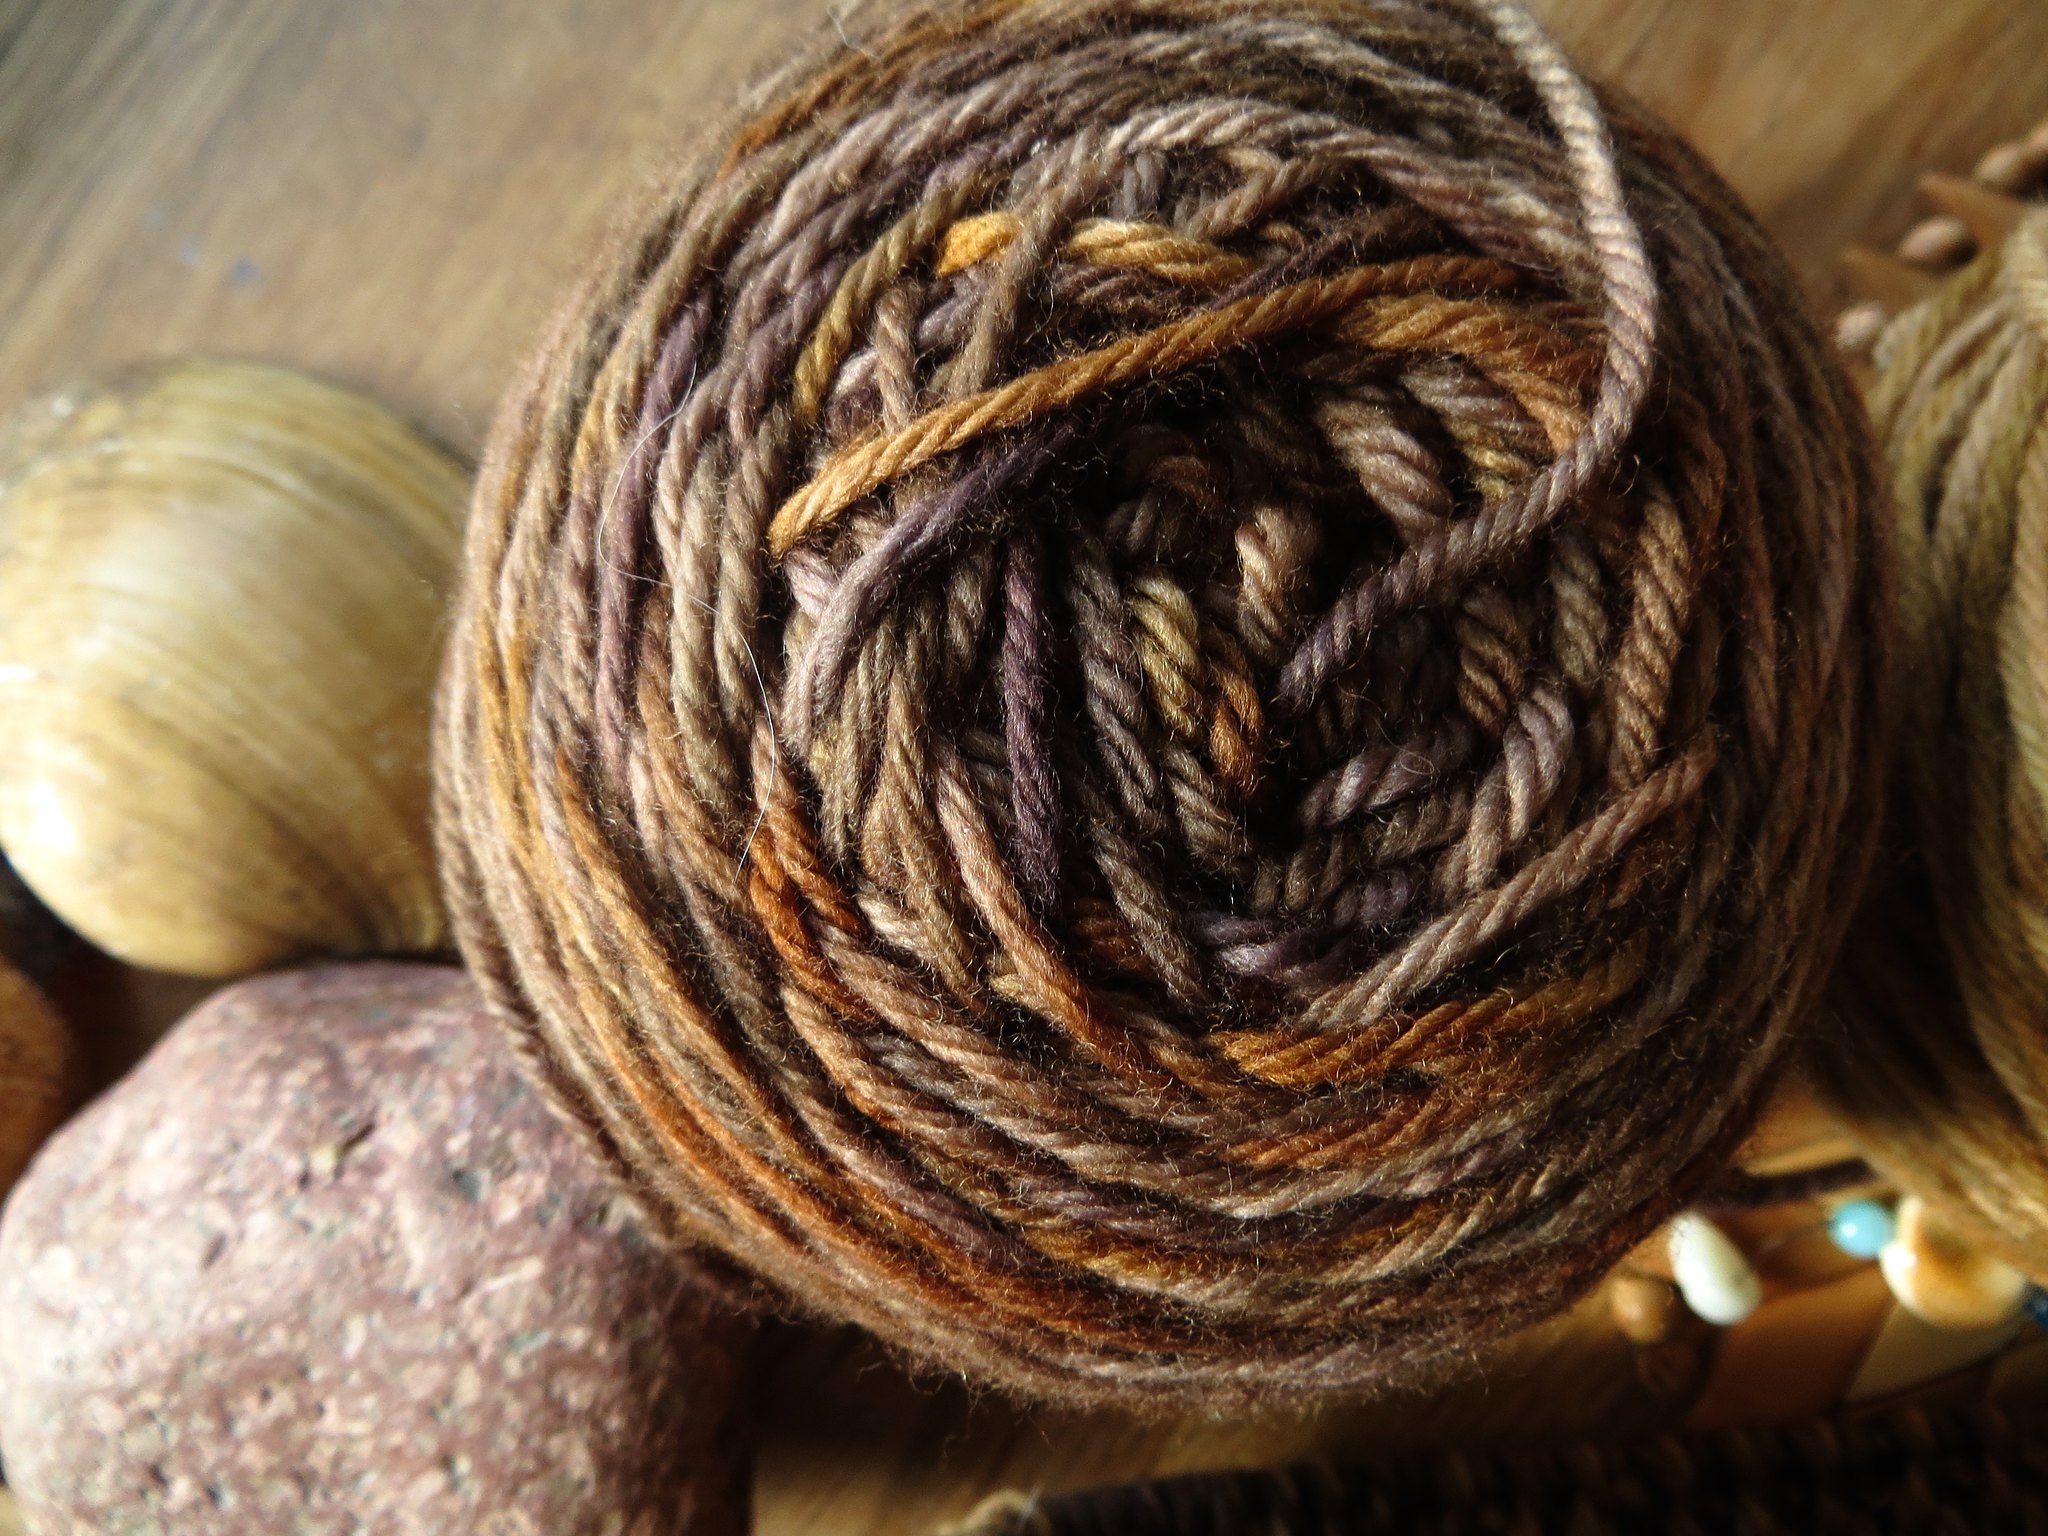
After that I wanted to have new hat for myself as well, and I dyed some DK weight yarn in two beautiful browns for it. I also used 2color brioche, but this time without a pattern, just started knitting:

dunkel dk in "old leather book"
dunkel dk in "my boyfriends guitar"


improvised 2color brioche hat in my favorite browns


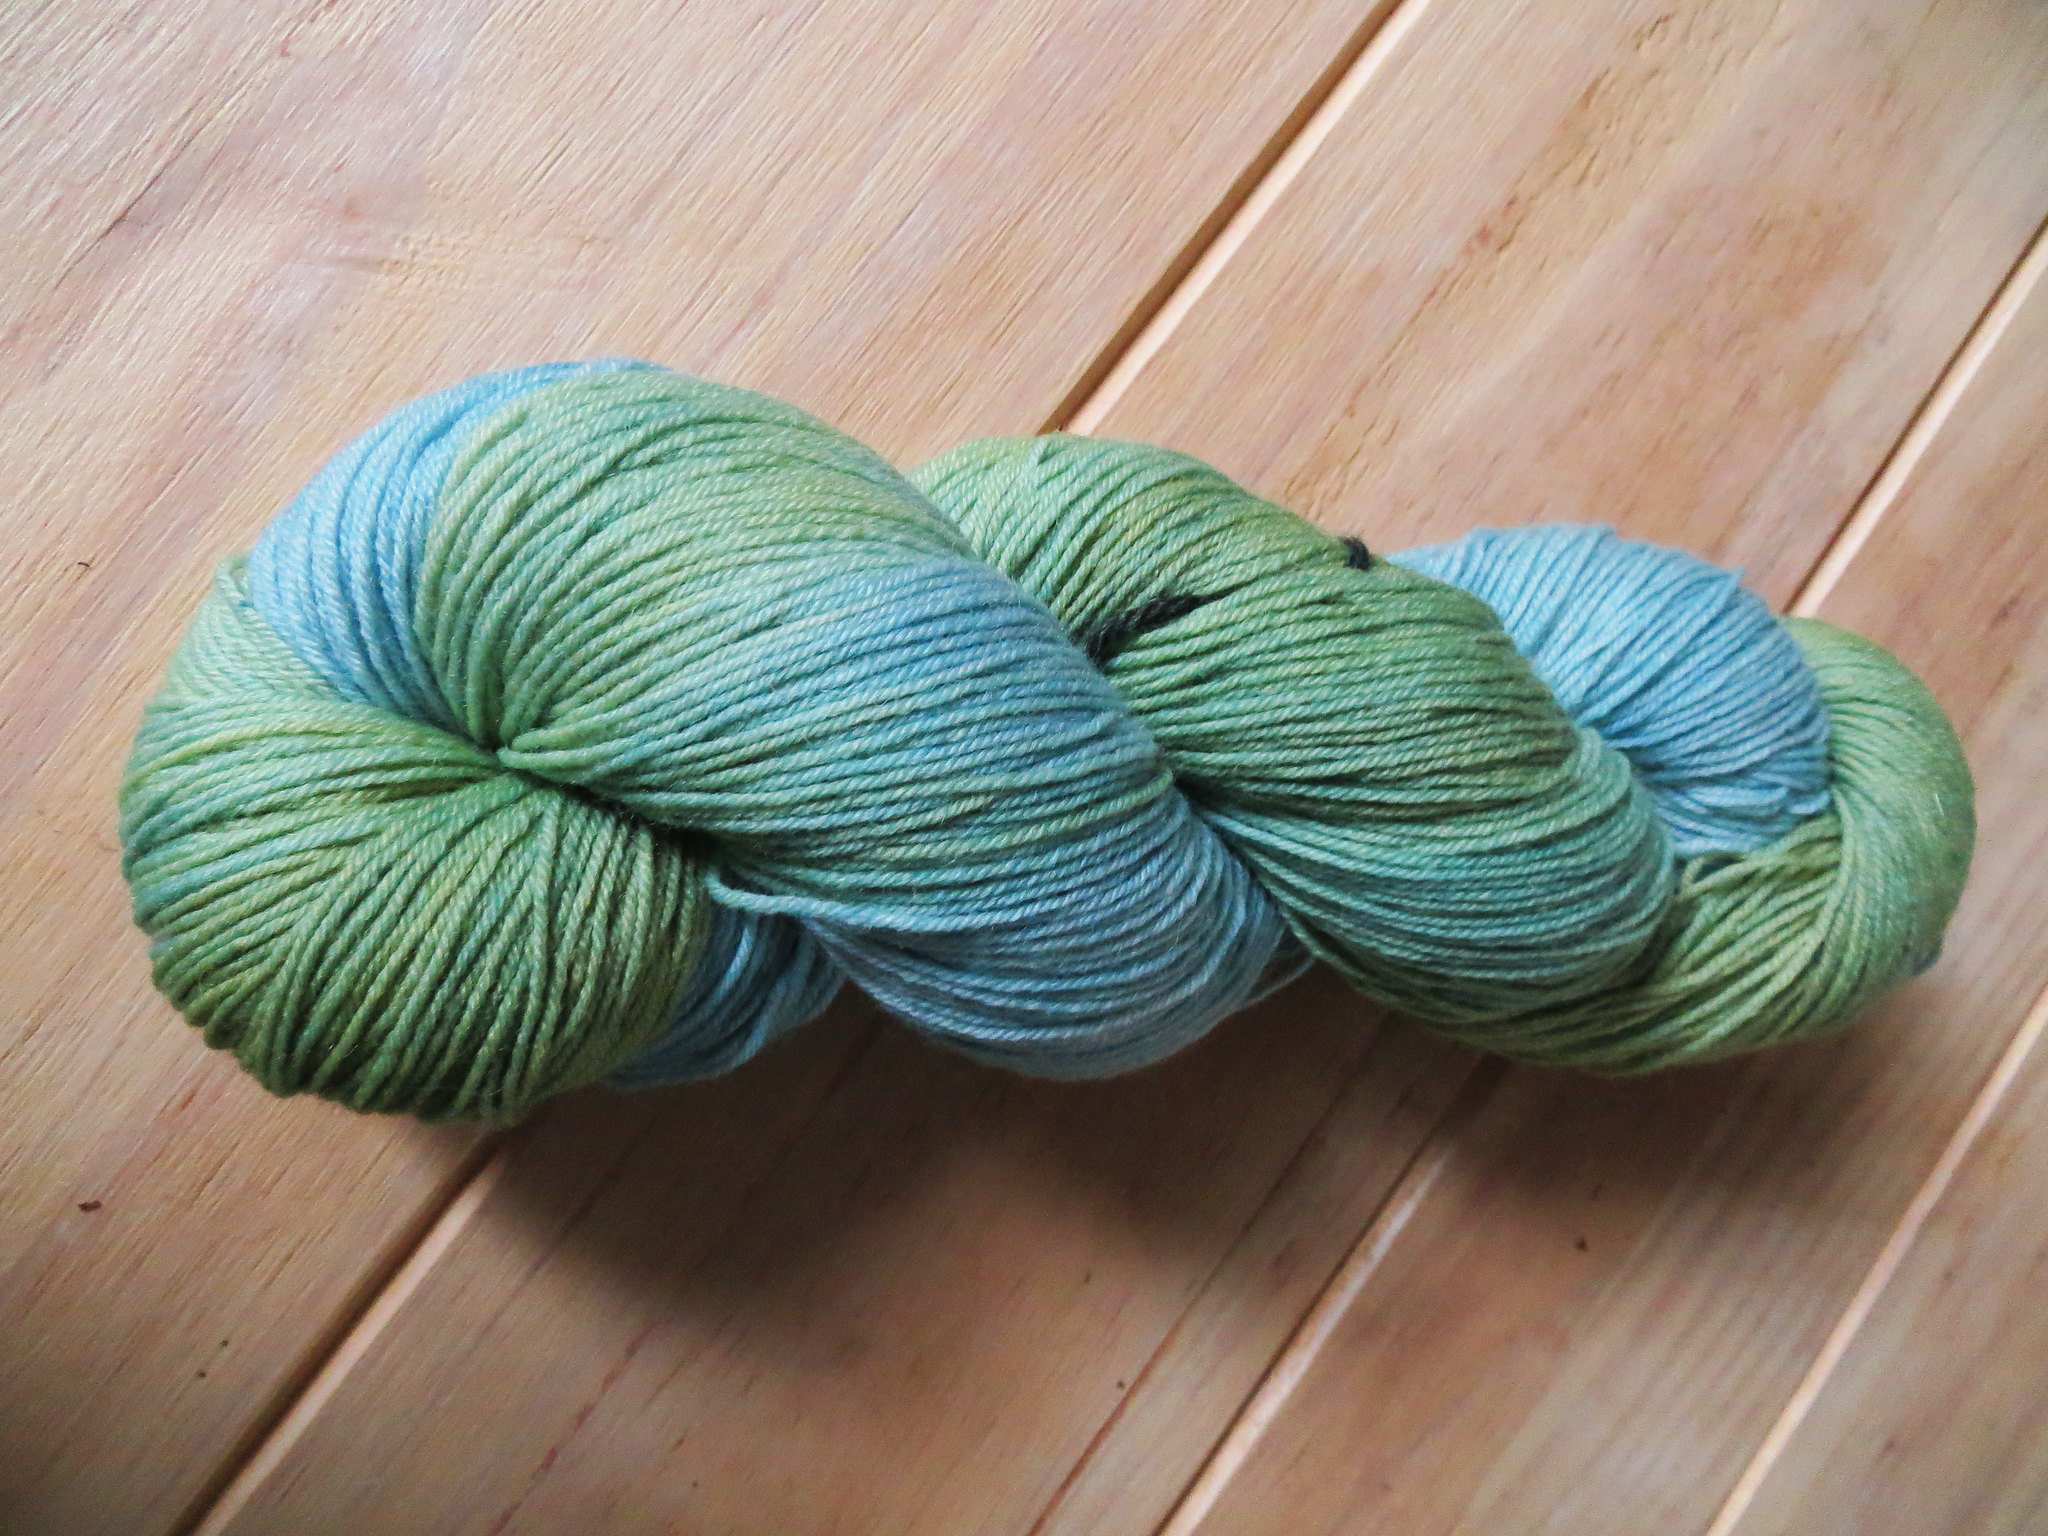
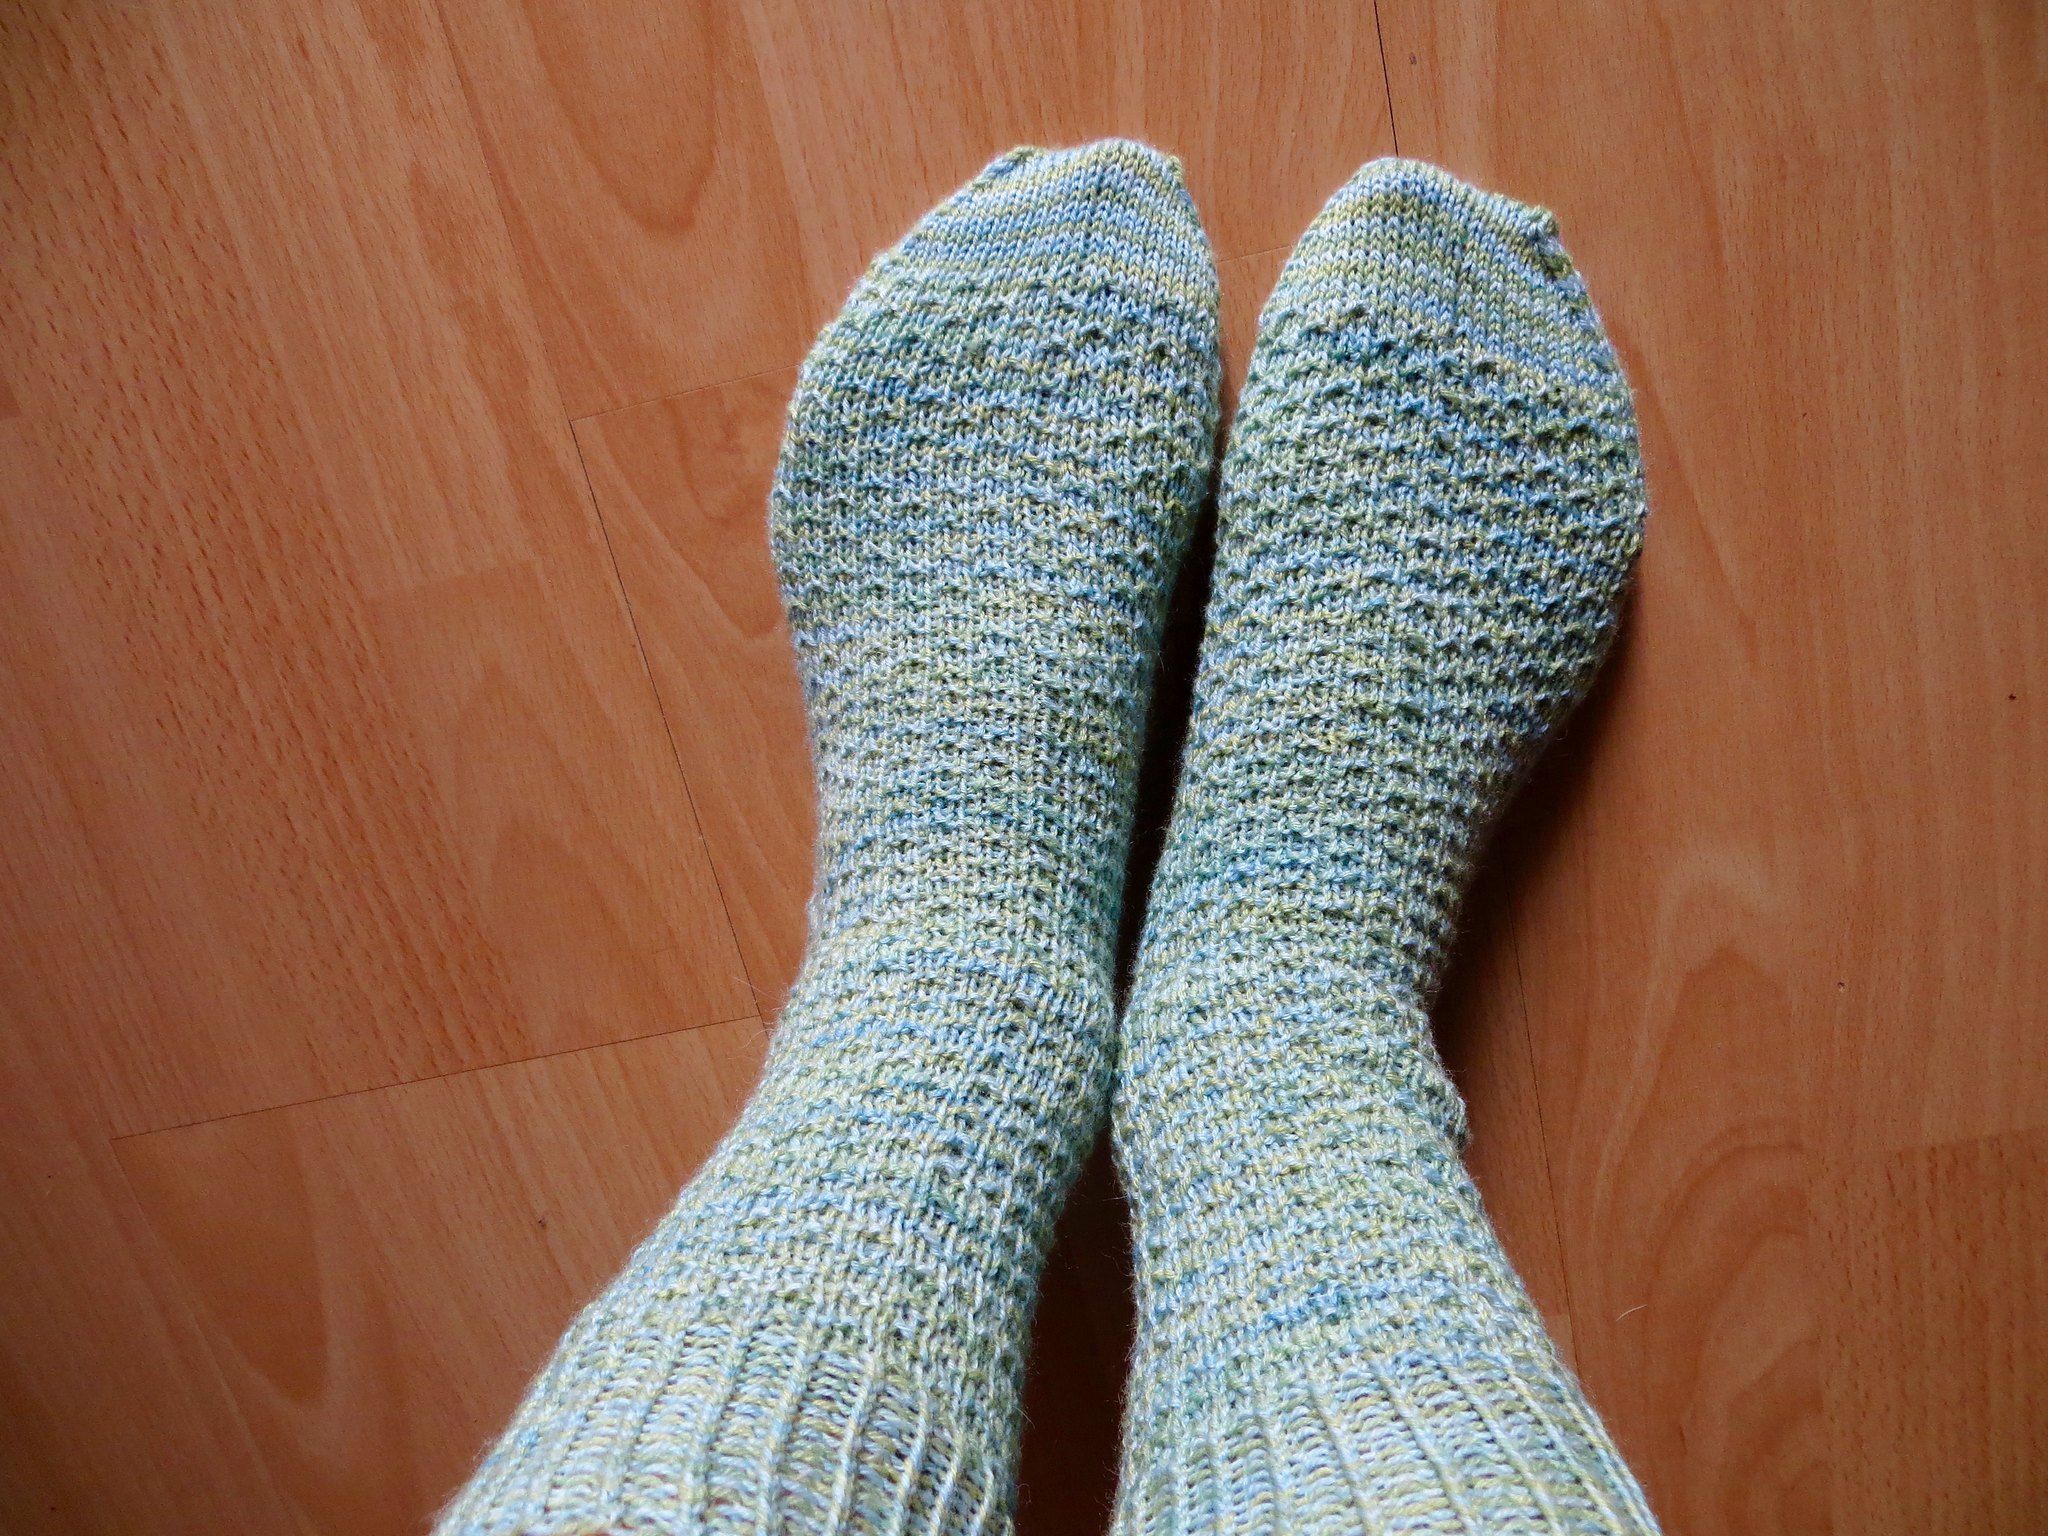
 In between all those hats, I even managed to knit a pair of socks, which I really love! I used the very popular free pattern Hermione's Everyday Socks from ravelry and my own plant dyed sock yarn:
plant dyed sock yarn (birch leaves and indigo) photographed in summer 2015

plant dyed socks photographed in winter 2015 (the summer colors are more accurate for sure!)

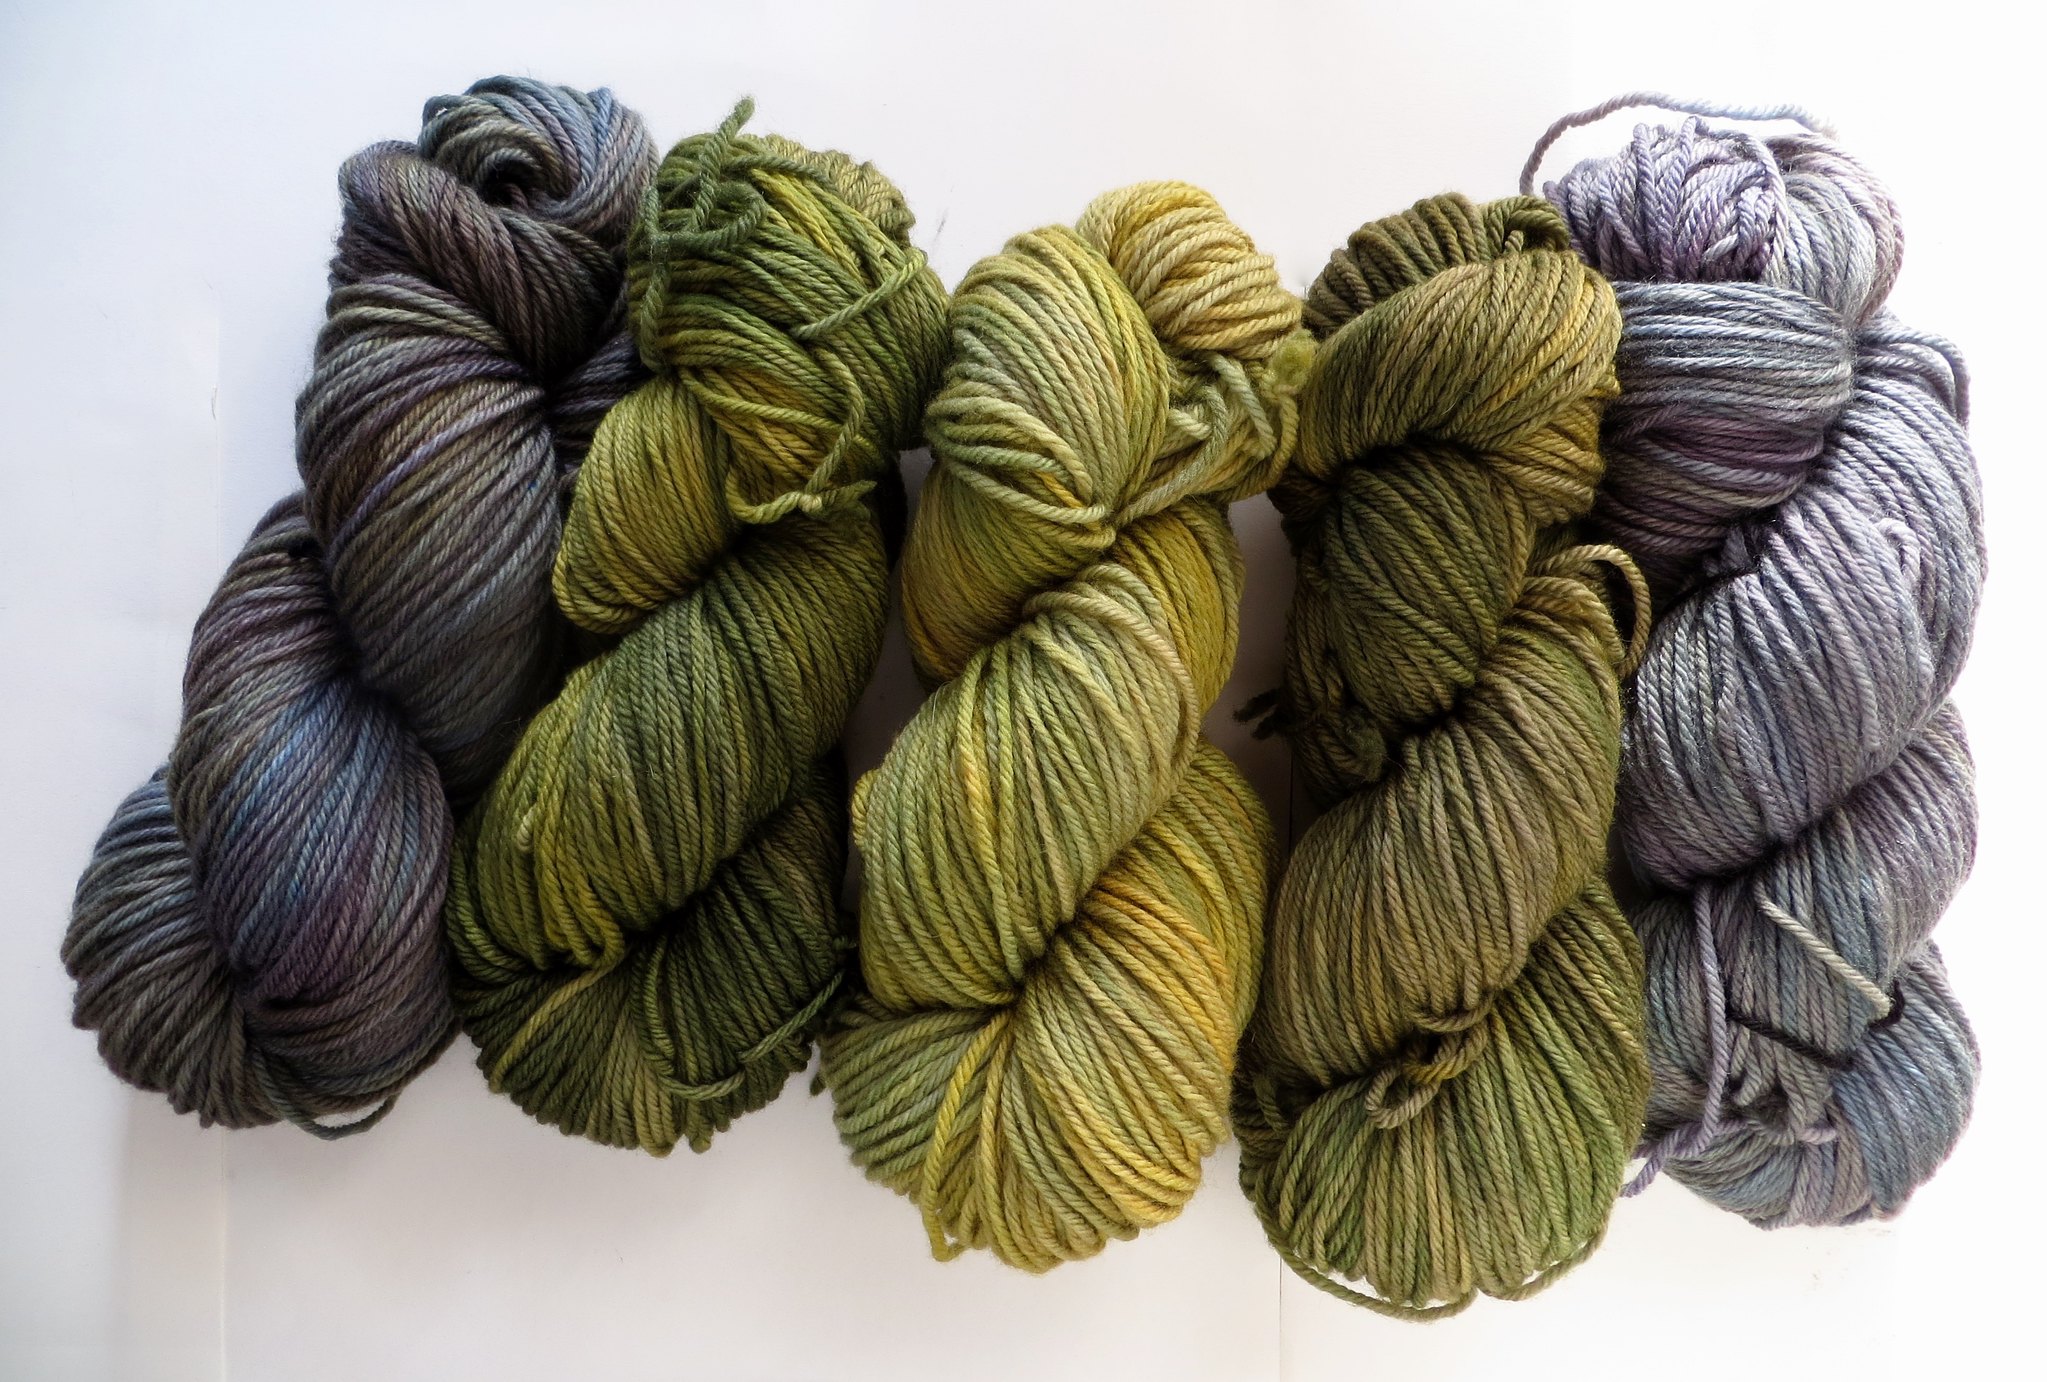
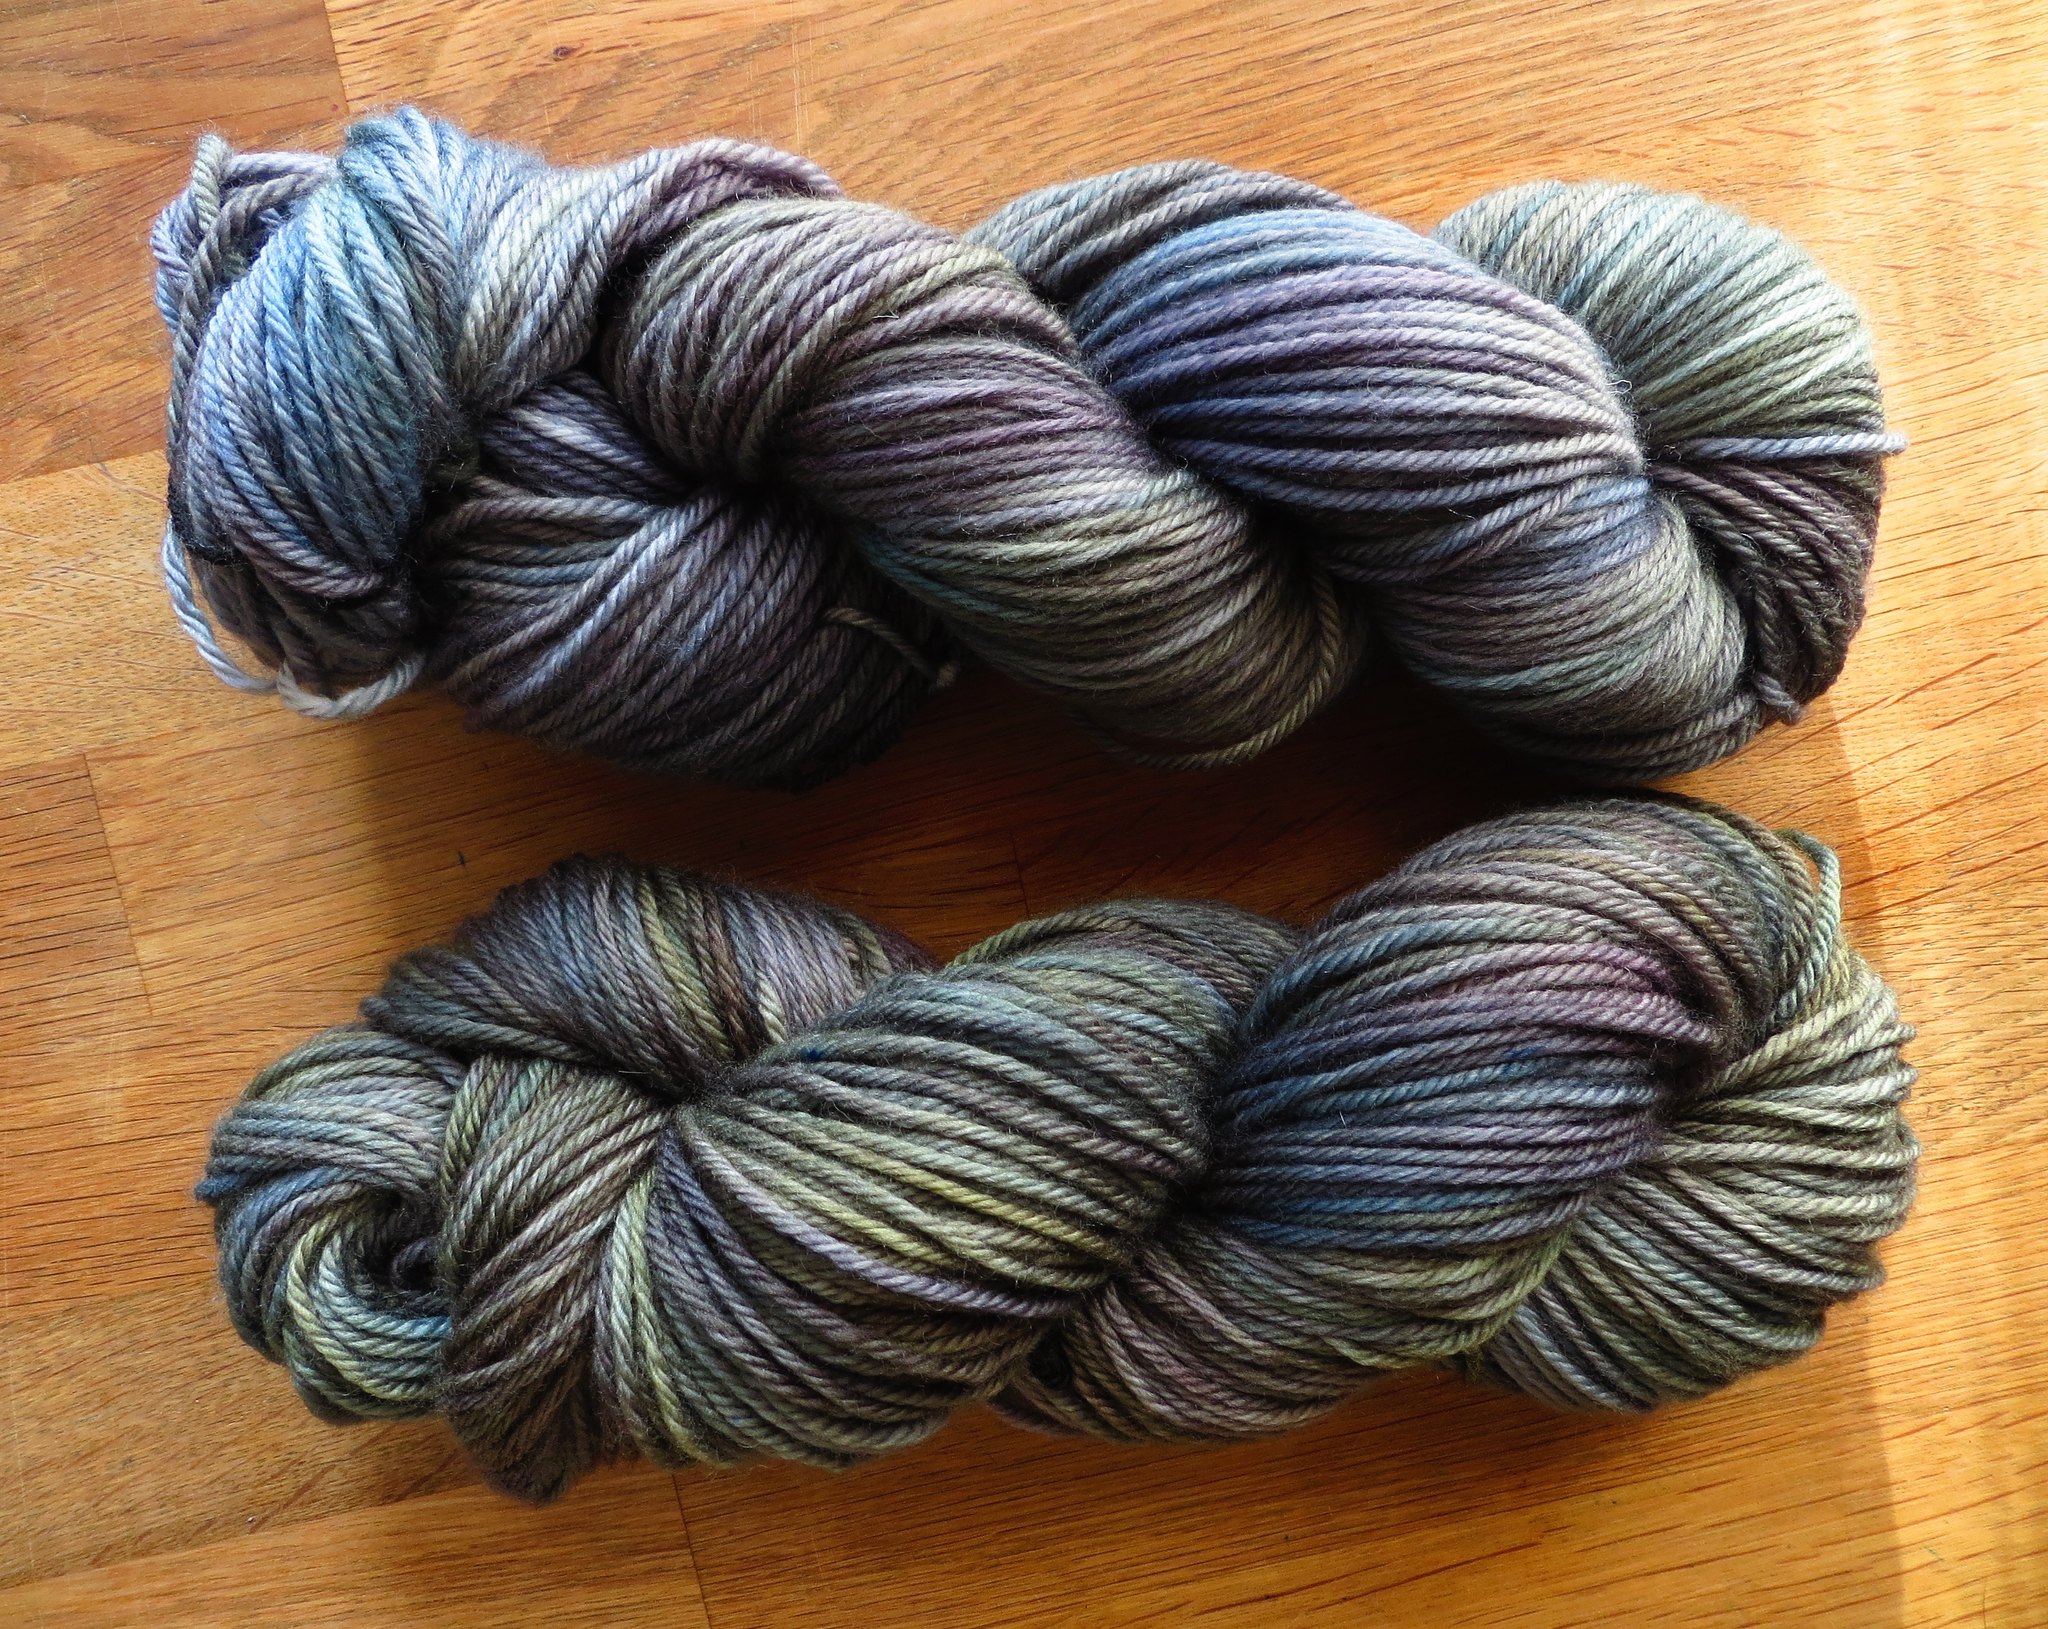
"Dunkel yarns"

Recently I also got much more into yarn dyeing with acid dyes. I am having so much fun with it, and I love the layered semisolid look of the yarns.
Not so much spinning, as spinning only white fibers can be quite boring. And I want to dye yarns this time around, not rovings :)
Maybe soon there will be some handdyed yarns in my etsy shop, it's long overdue that I revive that shop again!

dunkel dk in "rainy day", "my green sofa" and "hay bale"


my absolute favorite: "rainy day"

"rainy day" photographed in the sun


Plans for 2016

I will spend the beginning of the upcoming year once more in the hot summer of Brazil! Nevertheless I have plans for knitting, especially during the 12 hour flight. I am planning to make a stripey cardigan out of my handdyed dunkel dk yarns. Just top down, raglan increases, a bit  of bust shaping and color changes, similar to the paulie cardigan on ravelry.

Other than that, I have the goal to make more garments in the next year. I just love knitted cardigans, and hardly ever make any, because I am afraid it would take too long. So that should change!

A beautiful pattern on my radar is the hooded cardigan Kerrera by Gudrun Johnston. Such an amazing design! I am planning to knit it out of Madelinetosh Vintage.

Other plans? Be happy and enjoy what I am doing. And to finish my PhD :-P

Wish you all a Merry Christmas and Happy New Year!

Sunday, 7 June 2015

Natural Dyeing - Reed Blossom

This weekend I finally found a little bit of time to dye a skein of yarn with natural dyes.
I have collected a huge number of natural dyes already, that are all waiting for their day in the dye pot:
- onion skins (brown and red ones, collected over many months in my kitchen)
- birch leaves (collected on midsummer day in 2013)
- madder (bought)
- myrtus leaves (bought)
- alcea rosea (collected during walks through Zurich, they grow everywhere here)
- sandal wood (bought)
- annatto (collected myself in brazil)
- reed blossoms (collected in 2014 in the park of my university)
- cochineal (bought as an "easter egg dye")
- (probably more than I remember now!)

Unfortunately I could never find time to use them. This weekend I just felt like this summer I should change that and at least try some of my natural dyes :)

I started by using reed blossoms which I collected last year together with my boyfriend in the park around my university.

me collecting reed blossoms in August 2014

I am a bit short on time usually and a bit lazy ;-) So I used the following heavily modified version of a recipe found in the book "Naturfarben auf Wolle und Seide" by Dorothea Fischer.

Ingredients
- 30 g of dried reed blossoms
- 100 g of sock yarn (Bluefaced Leicester 75%, Nylon 25%)
- 15 g of alum
- 1.5 teaspoons of iron sulfate
- 2 pots (a small one for about 1-2 liters and a larger one for about 5 liters)
- piece of cloth to tie the plant material in plus an old hairband or a piece of string.

Mordanting
dissolved the alum in a bit of hot water, added more cool water and the yarn, so that it was just covered. Heated and let simmer for about 30 min. This I did in the larger pot!

Preparing the Dye Plant
This can be done at the same time as the mordanting. 
Cut the reed flowers into small pieces using scissors. Put the plants into the smaller pot and added water to cover, heated and let simmer for about 30 min. Then I filtered the mixture through a piece of cloth, letting the liquid run directly into the larger pot (where the yarn-mordant mixture is). The cloth was tied together with an old hairband and also placed in the larger pot.

Dyeing
Many recipes will tell you now to simmer the yarn for one hour, then taking it out and putting a second skein intho the bath which will again stay for one hour and get a lighter color. I don't like pastel colors so much, I want strong colors. As my dyebath already has quite a low content of dyeing material (30%, most recipes take 100%), I wanted to let that skein in as long as possible to exhaust all the dye it can...

I let the yarn simmer on low heat for about 1 hour, then I switched off the heat and left the mixture stand over night. On the next day, I turned it on again and let it simmer on low heat for about 2-3 hours. Sometimes I added more water to cover the yarn completely.
During this time you don't need to watch the pot, you can easily clean the house, go to the post office, grocery shopping, etc ;-)

Color Modification with Iron Sulfate
I took out the skein and placed it in a strainer over a pot (the smaller pot from the beginning). I removed the bag with the tied dye plants and added about 1.5 teaspoons of iron sulfate to the mixture. Then I let hang half of the skein into the dye pot, keeping the other half in the strainer.
The half in the pot will now get a darker color giving a two-colored semisolid skein :)
After simmering for about 30 min, the skein was removed from the pot. Be careful that the color modified part, does not touch the unmodified part because this can give stains!
After letting the skein cool a bit on the strainer it was rinsed with warm water, washed with a mild fiber soap and further rinsed until the water stayed clear.

Let it dry... and tadaaa: Isn't it wonderful? You can see the lighter green, which is the unmodified color of the reed blosssoms and the darker green modified by the iron sulfate.


Here is the skein together with some other plant dyes yarns I did before in similar methods:

left to right: two solar dyed skeins (multicolor yellow-orange-pink), reed blossoms (green), privet berries (petrol), dahlia flowers (bright orange).
I hope to be able to show you more natural colors this upcoming summer! :)


Saturday, 8 November 2014

Camel/Silk Artyarn Shawl


Last week I could finish a project which I am really in love with...


More than a year ago I got this fiber from Sidi. It is the "waste" that is produced during the industrial combing process to make combed top. It is a mixture of camel and silk. Camel naturally has a very short staple, but it is extremely soft and light. Silk is a long and sleek fiber, but as this here is the "waste" of the production, there are a lot of knobs, short pieces and also pieces of silk cocoons in it.

Camel / Silk "Bandabgang" (waste from the industrial combing process)


I decided to dye it in some colors that remind me of a beach in Ubatuba, Praia Vermelha.
I chose the colors green (for the jungle), brown yellow, orange, red, and different shades of ocean blue. One part I left undyed, it should be the color of the sand :)
The red comes because on that particular beach you can find many many red and orange shells. Also the name "vermelha" means red.
I apologize for the flood of pictures that coms now... but there are just too many good pictures of that beach :)

the fibers after dyeing


So much to the colors :)
Then I took my hand carders to prepare the fibers for spinning. This has two effects - to make the fibers more organized and easier to spin, but also to mix and blend the colors and to make transitions...


fibers are spread on the hand carder while blending different colors
when finished carding, the fibers are rolled u with the help of two sticks (knitting needles)


Like this I made about 100 fiber rolls, called "rolags". Unfortunately I don't have a picture of all of them together, because I started to spin some, before I finished making all of them :)


The nice thing about these little fiber packages is, that you can build up a gradient or stripes, by spinning them in the order you like...
And then came the spinning wheel!
Due to the knotty fiber the thread became a bit uneven and has a lot of texture.


How to ply this single?
This question was in my head for many weeks... I wanted to keep the gradient, but a navajo ply would just look weird... Then I came to the decision to take a thin silk thread that is usually used for sewing, and to ply it with this. I chose a natural beige color. While plying I held the silk thread tight and let the camel/silk thread go on it loosely with a slight angle. By this I obtained a funny spiral yarn, with many bobbles and knobs in between:


Almost at the end! :)
For almost half a year I had the yarn and didn't know what to knit from it... it should be something special. But there were just not the right knitting patterns out there for this yarn...
So I have decided to just cast on 3 stitches and start to increase in a regular way to make a semi-circular shawl. Along the way I picked up some shell beads and knitted them in.
And for the border I got an inspiration at my yarn shop, a pretty wave pattern...

I love the scarf! It's so soft and light and warm... incredible. And with all this story behind it, it really is something special.


Danke, Sidi, für dieses Geschenk. Ich hatte so viel Freude damit :)


Saturday, 18 October 2014

Robin Hoodie finished!

After many months of knitting I finally managed to finish the Robin Hoodie.
On a beautiful walk through the botanical garden of Zurich last weekend, I took some pictures of Gabriel wearing it :)


The yarn used for this was Lang Yarns Cashmere Tweed (35% cashmere, 65% merino extrafine). It took me 1170 meters, and I made the size "Robin Hood" (described in the pattern). It really pays off to knit (and wash) a gauge before starting this sweater :)


Friday, 19 September 2014

Cabling Without Cable Needle


About 6 months ago I began to knit this fabulous sweater from Audry Nicklin. It looks rather complex but the pattern is written so well that I would say it is easy to make for knitters who have just a bit of cabling experience.


Up to this project I always did cable patterns with the help of a cable needle.
In this sweater you need to cross stitches almost in every round, so I thought it would be helpful to find a way of speeding this up - cabling without the help of a cable needle!

There are several ways to do that. Here are some good videos that show different techniques:

From the DROPS tutorial library:


Or this one by elizzza which I liked most (sorry, it's in German):


 I used a mix of different techniques for the different kinds of stitch crossings in this pattern. I hope you will find this useful :)