Tuesday, 22 December 2015

Brioche Hat Madness and Plans for 2016

Brioche Hat Madness

The last couple of weeks I was rather productivly knitting! Hats are great projects for gifts, they are finished in a reasonable time and give this feeling of accomplishment :)

I discovered the pattern Liguria by Katrin Schubert on ravelry, and immediately had to try this. It was my first time knitting two-color brioche and I fell completely in love. If you have never tried this, you really really should!
What came afterwards was that my family  asked for getting hats like that one too, but in their favorite color.... so all in all I knit three Ligurias!

My second Liguria in "The Grateful Dead" colors for my dad (Madelinetosh DK Baltic and a leftover red yarn from my stash)
the first Liguria I made in Madelinetosh DK Baltic & Grasshopper
my third Liguria made for my mum in Madelinetosh DK Lepidoptra
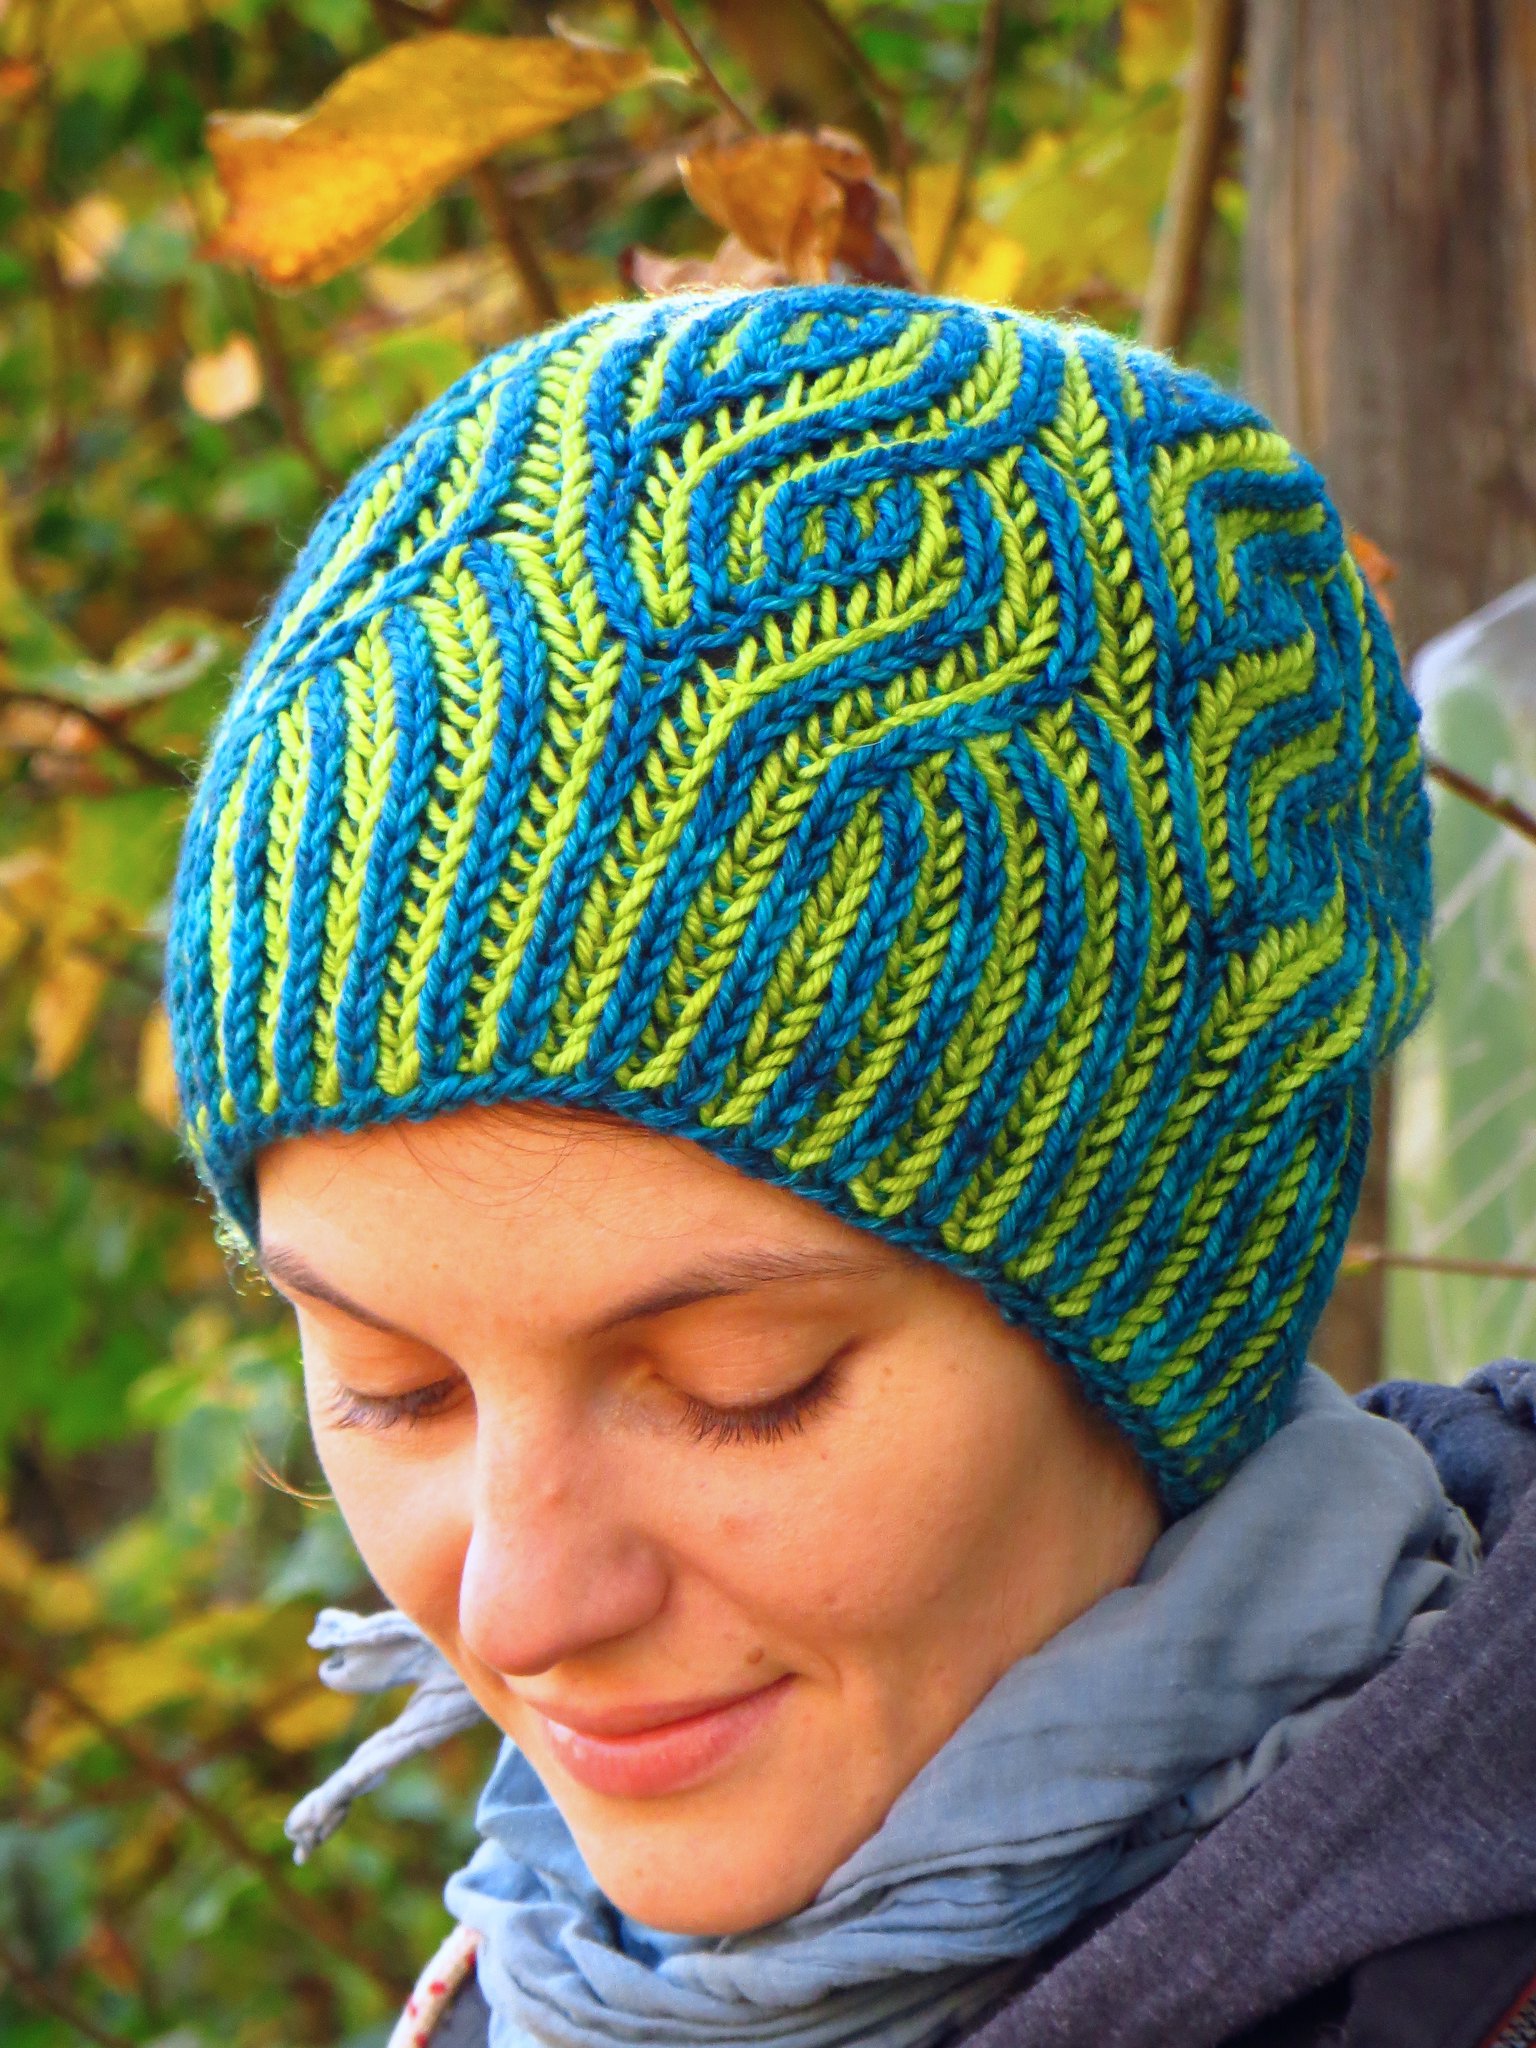
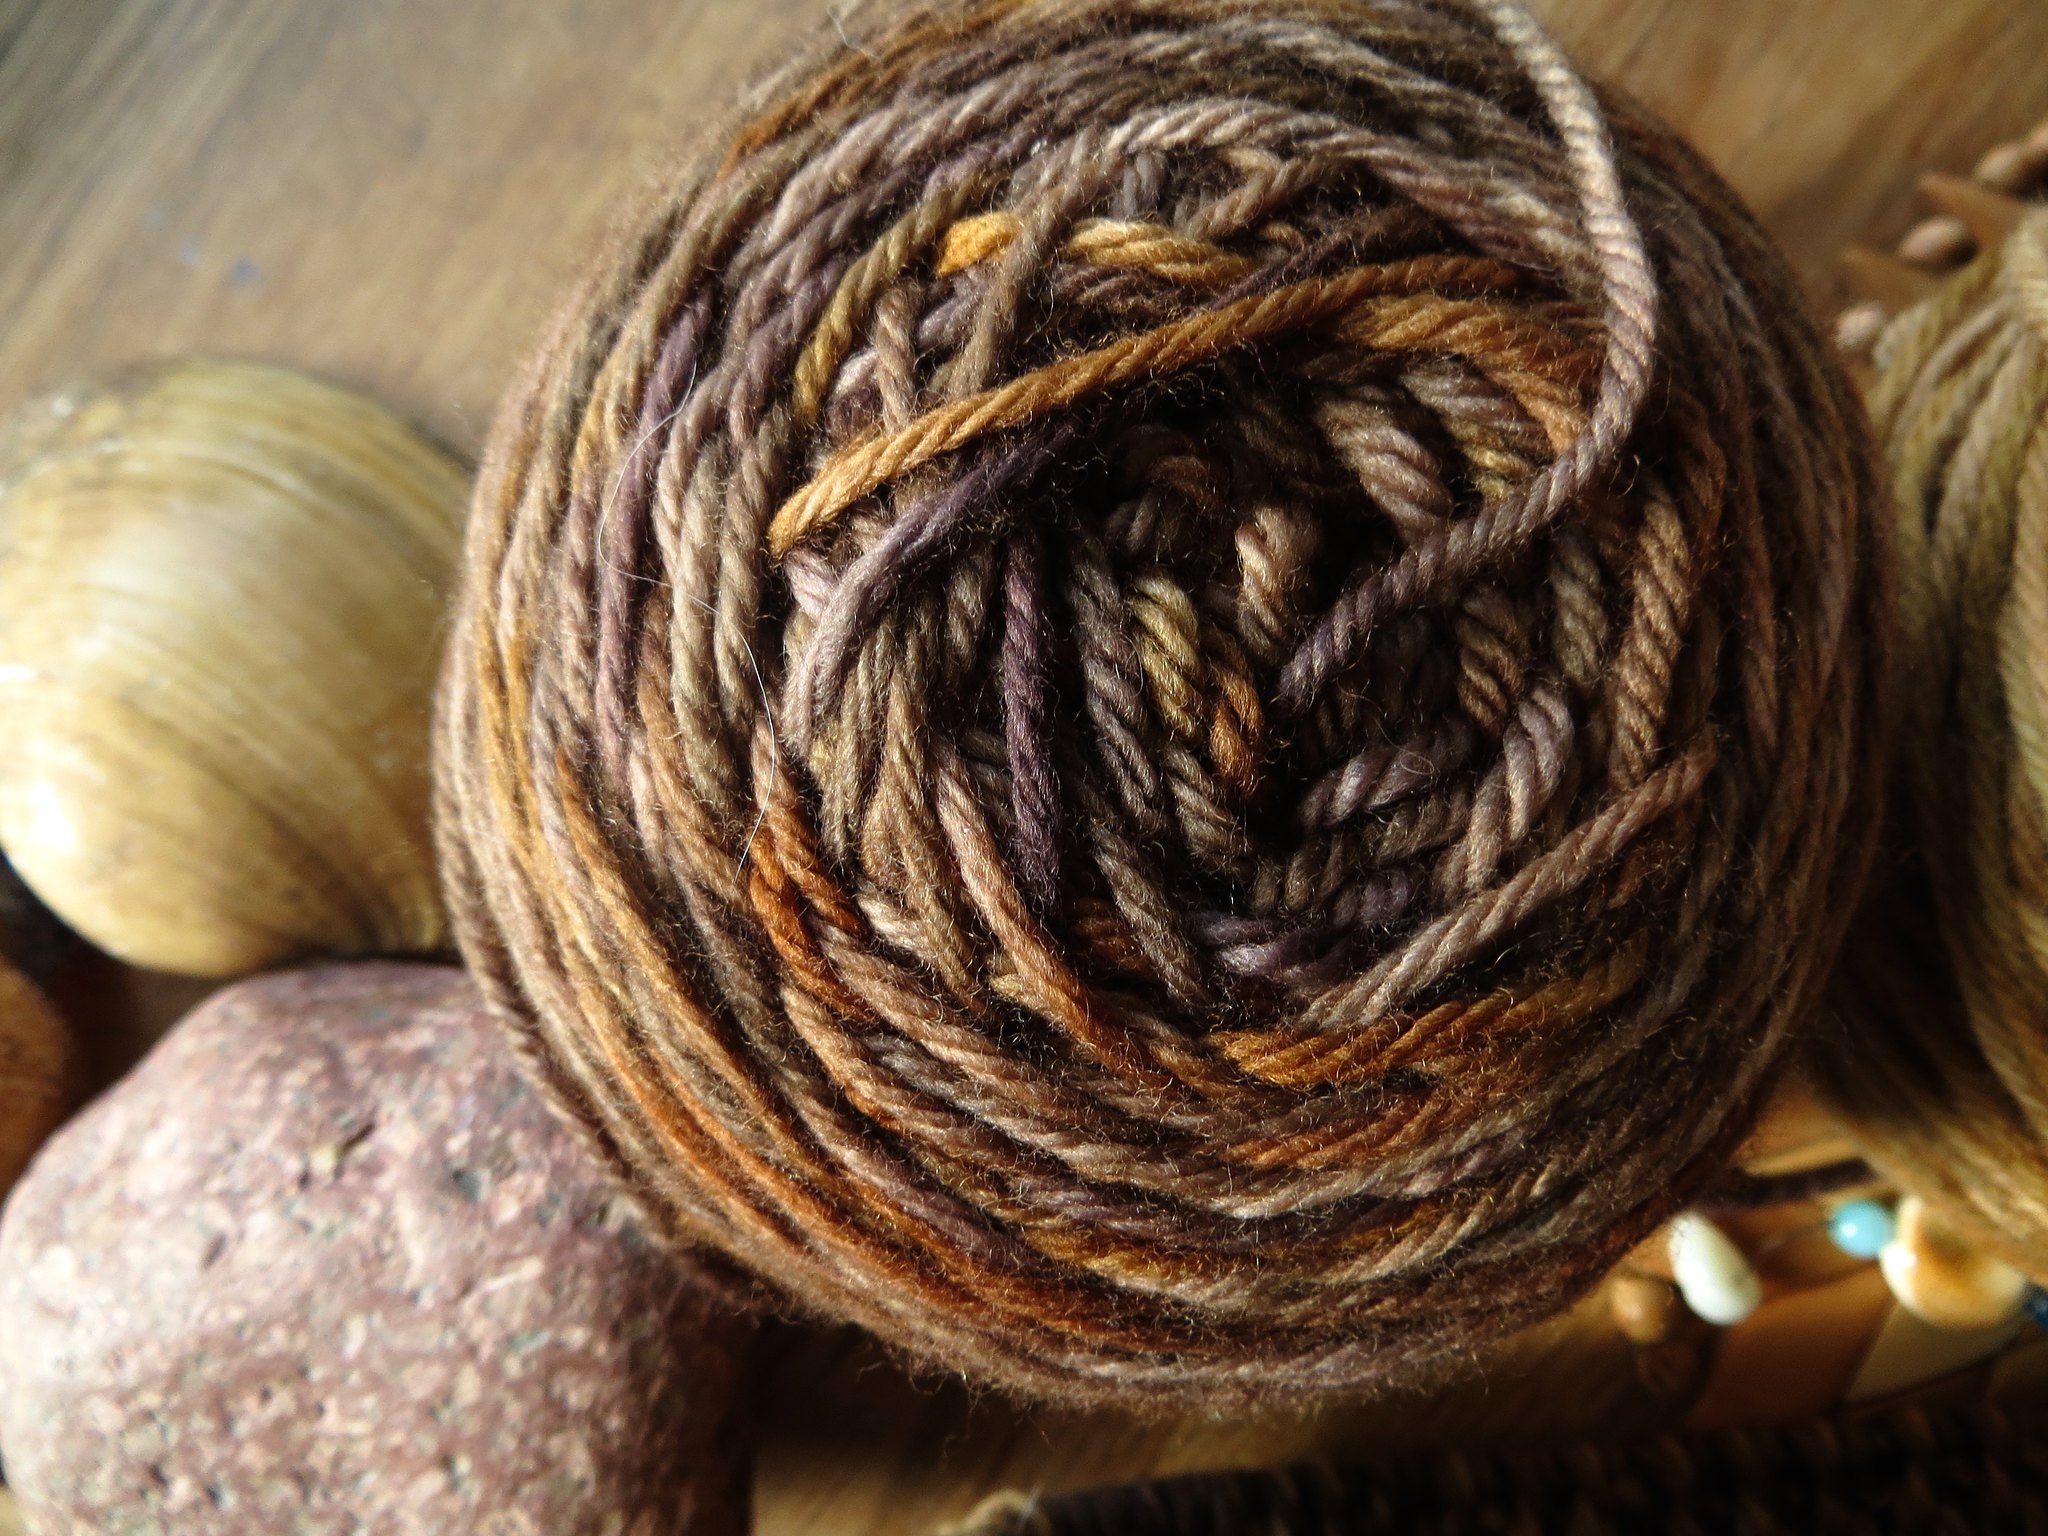
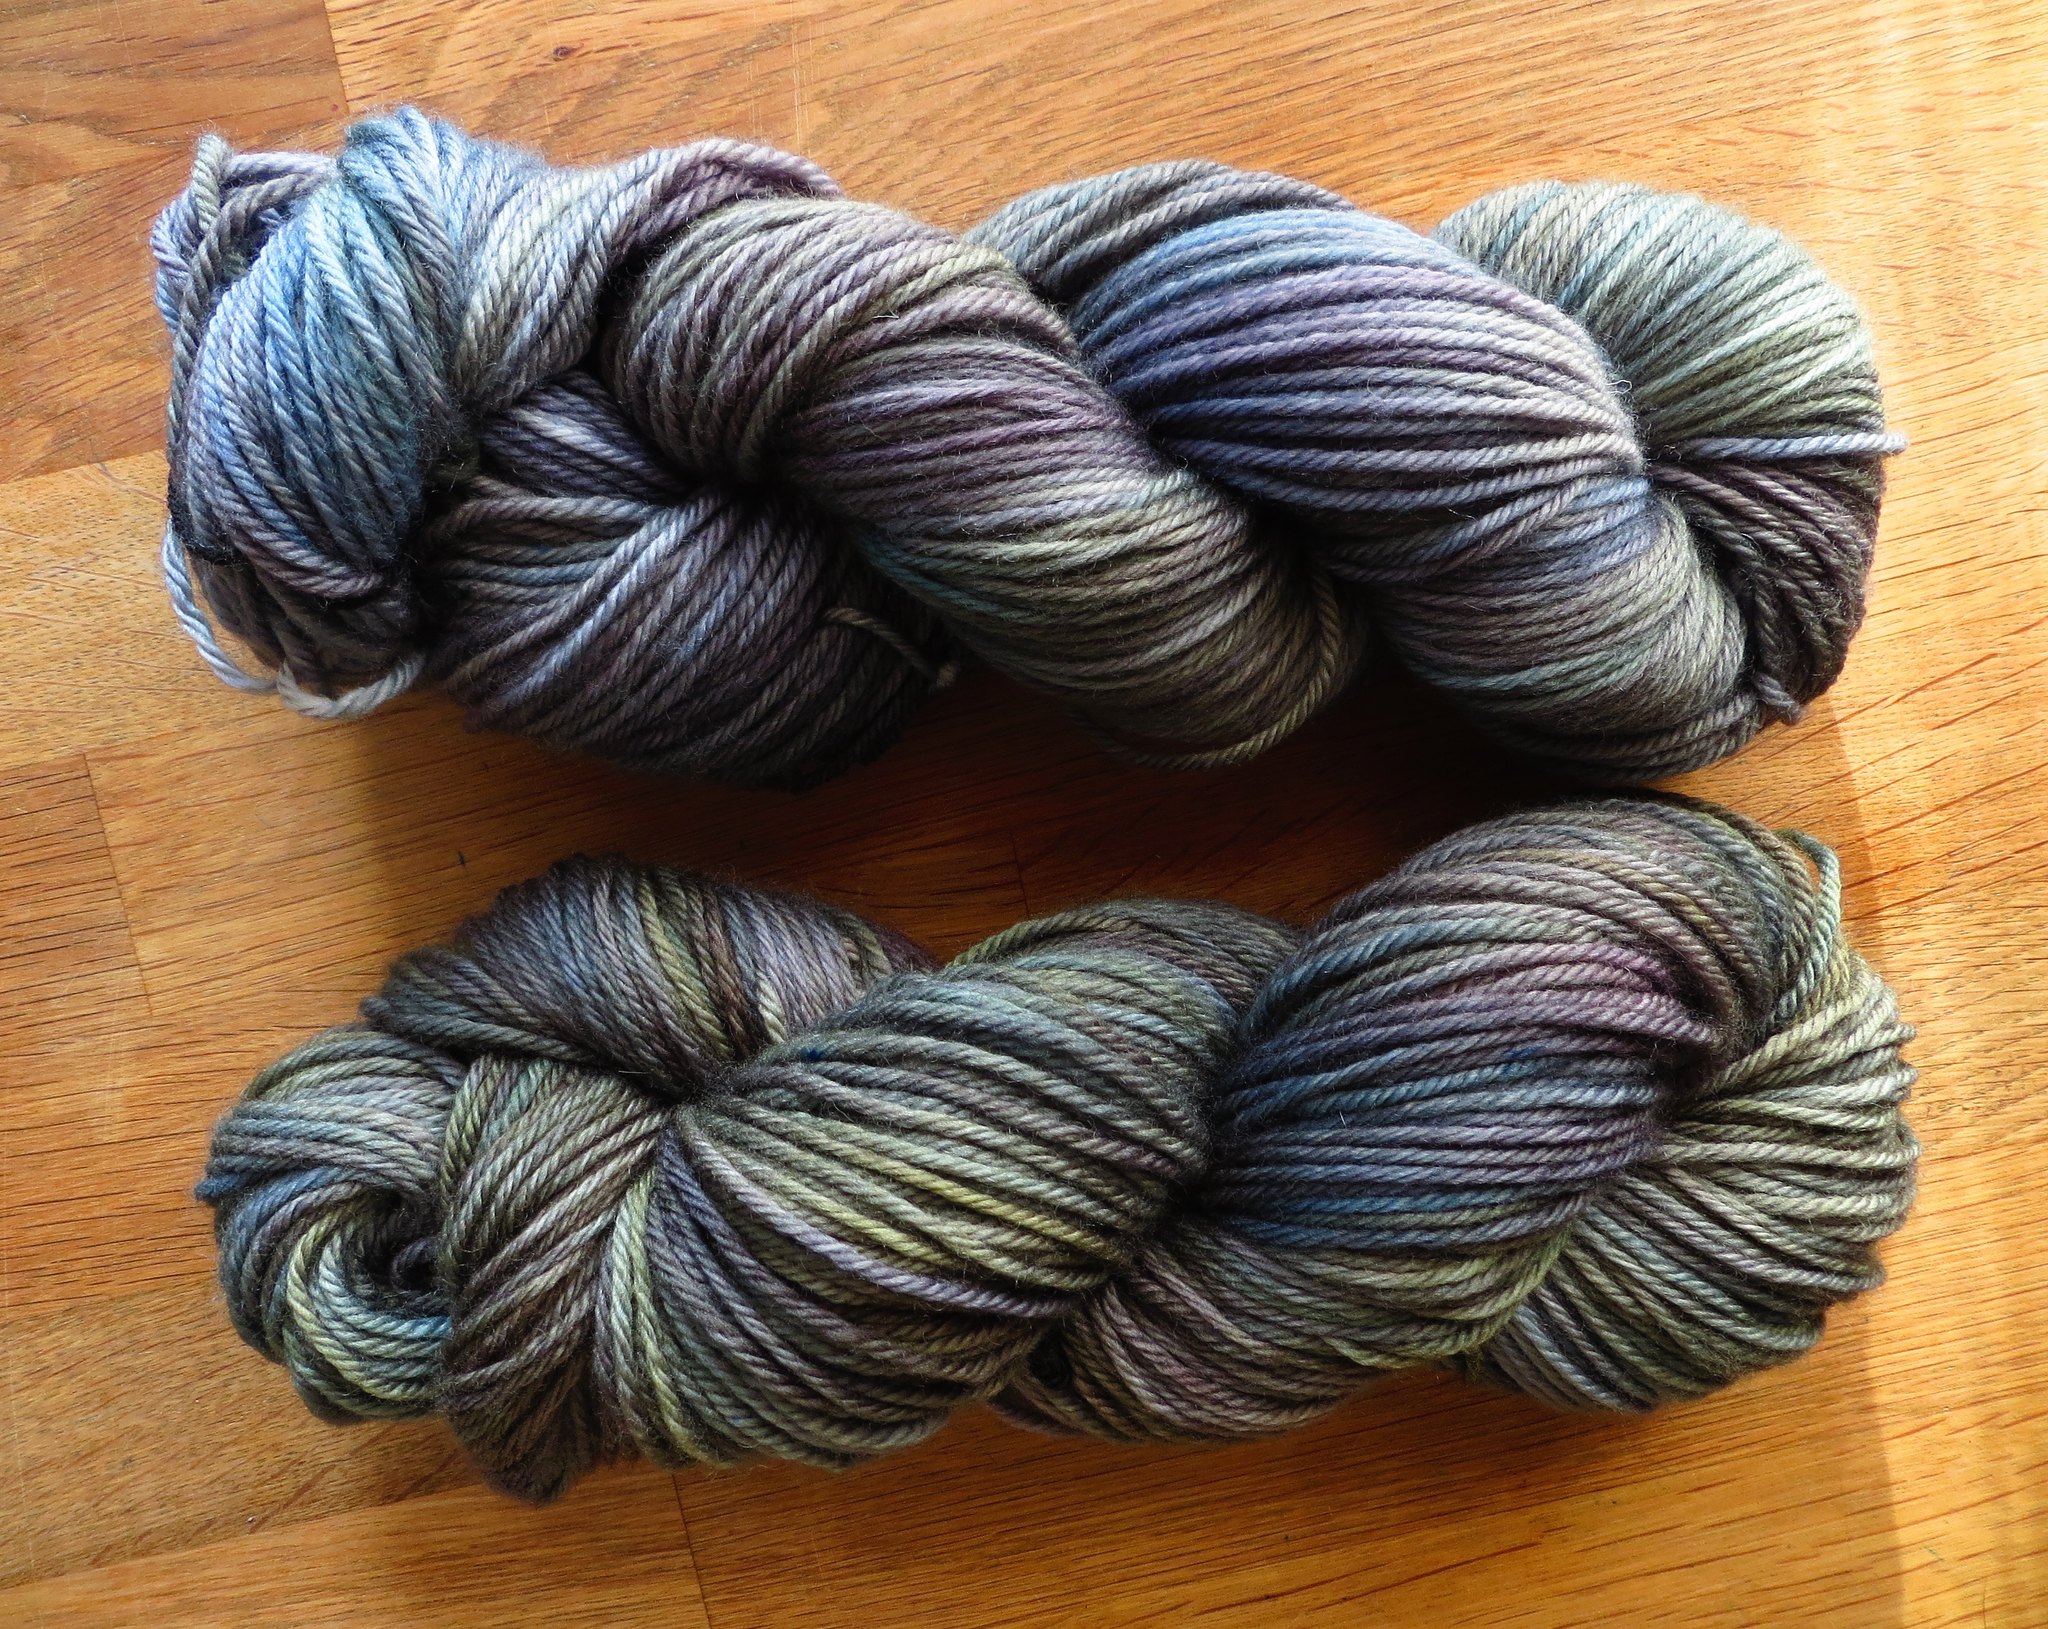
After that I wanted to have new hat for myself as well, and I dyed some DK weight yarn in two beautiful browns for it. I also used 2color brioche, but this time without a pattern, just started knitting:

dunkel dk in "old leather book"
dunkel dk in "my boyfriends guitar"


improvised 2color brioche hat in my favorite browns


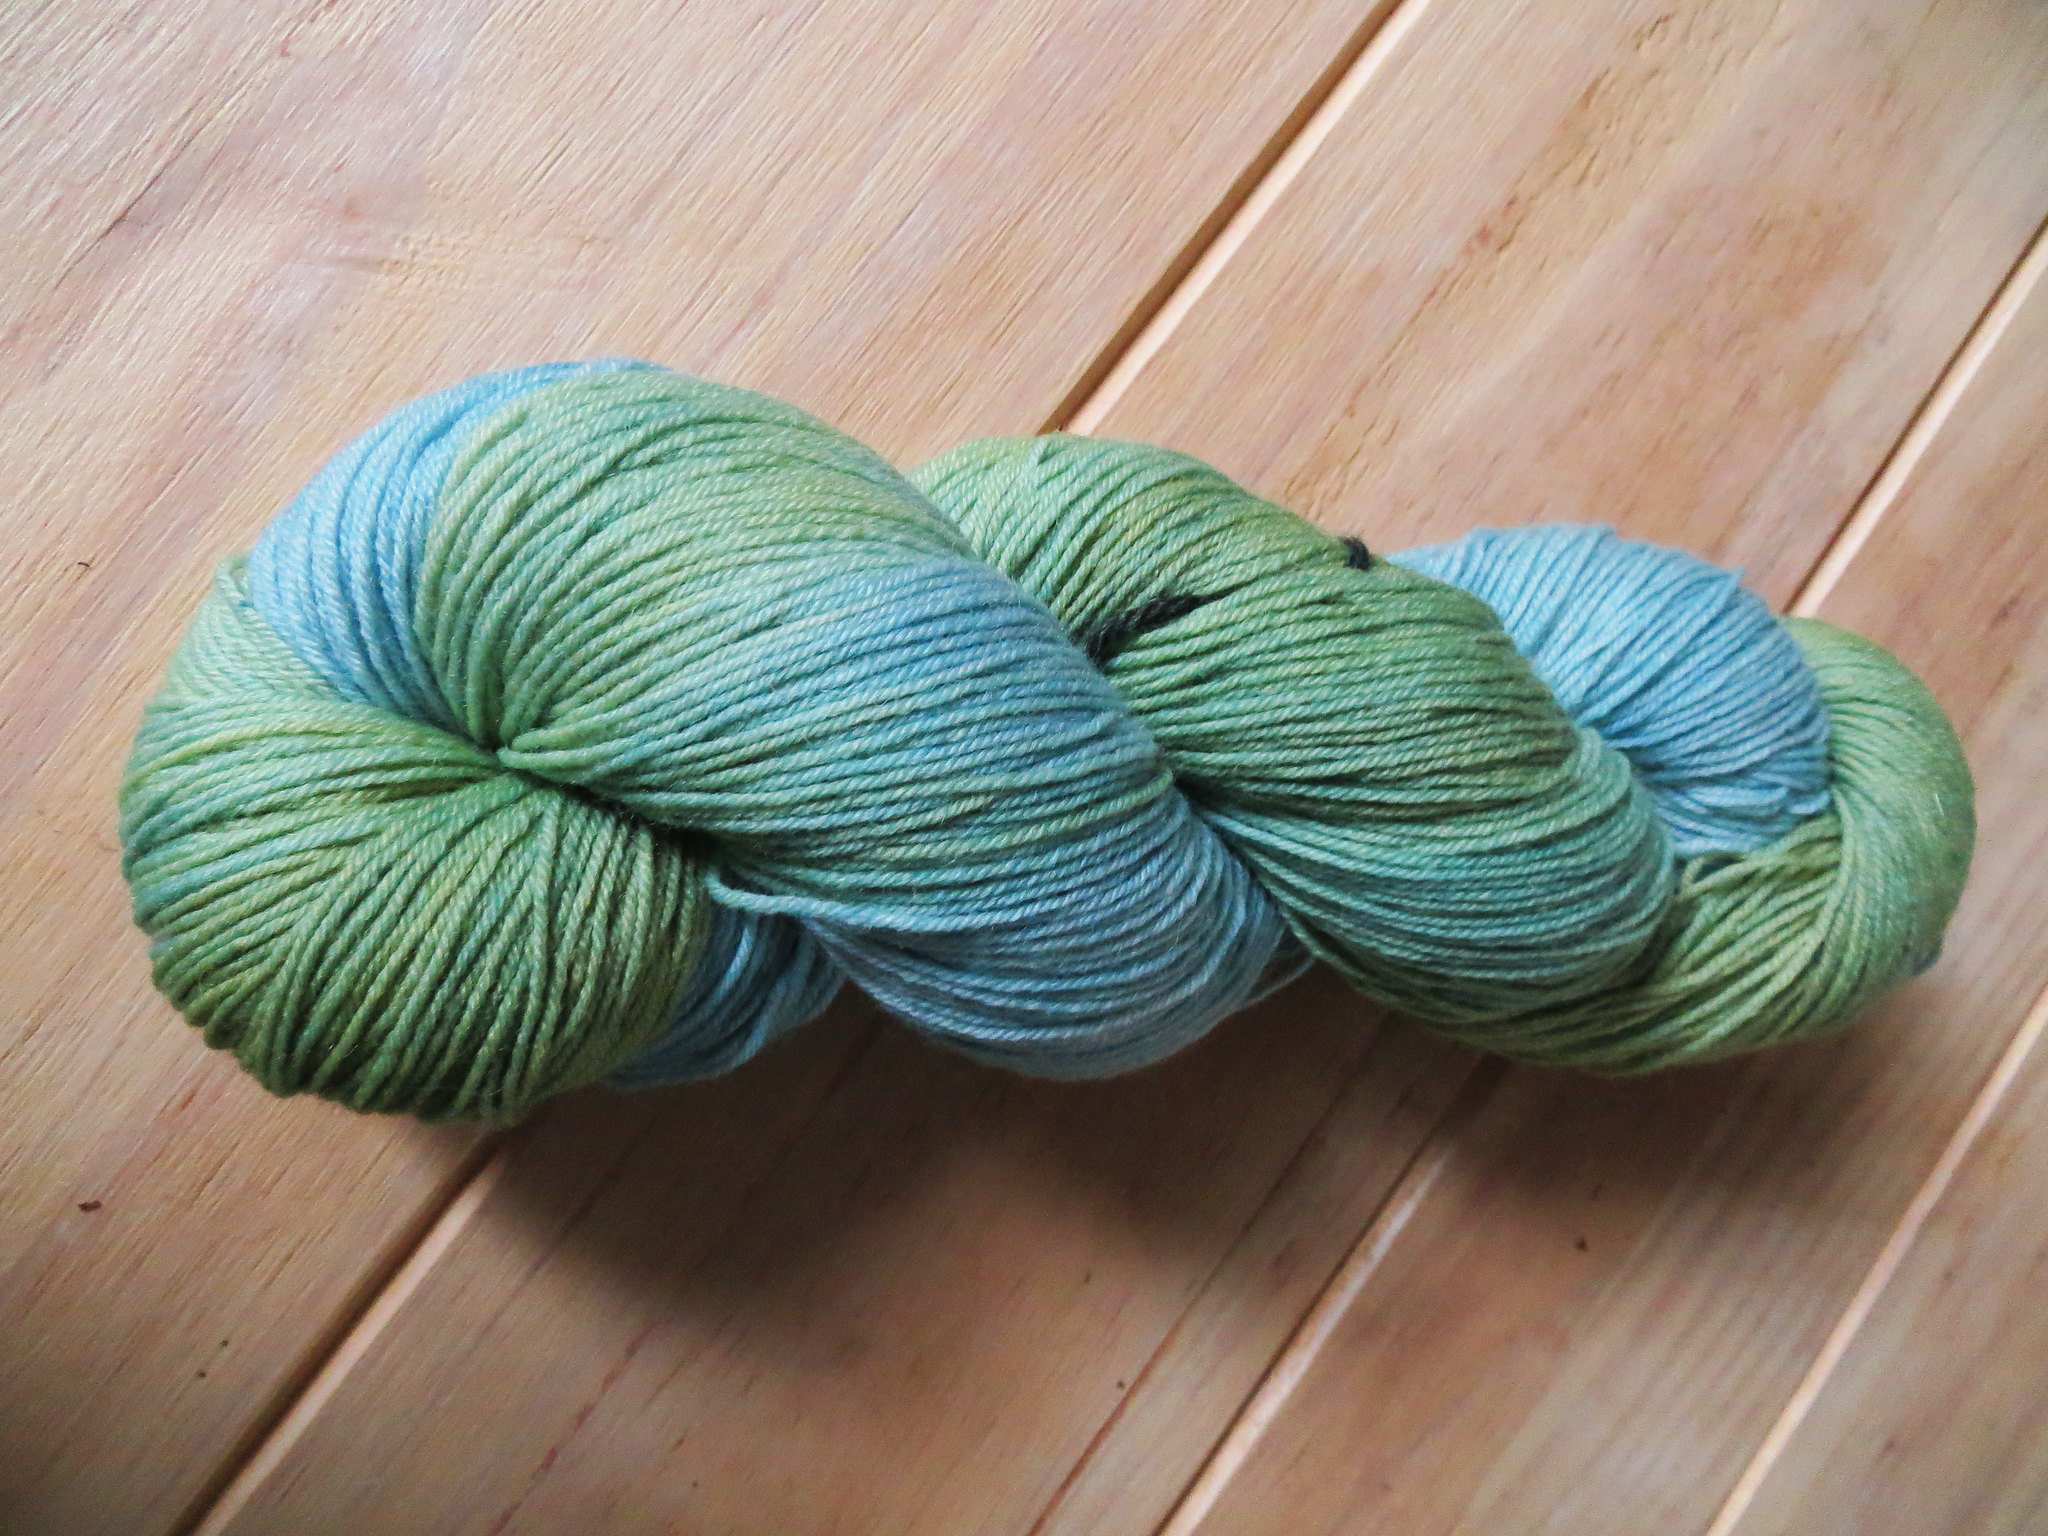
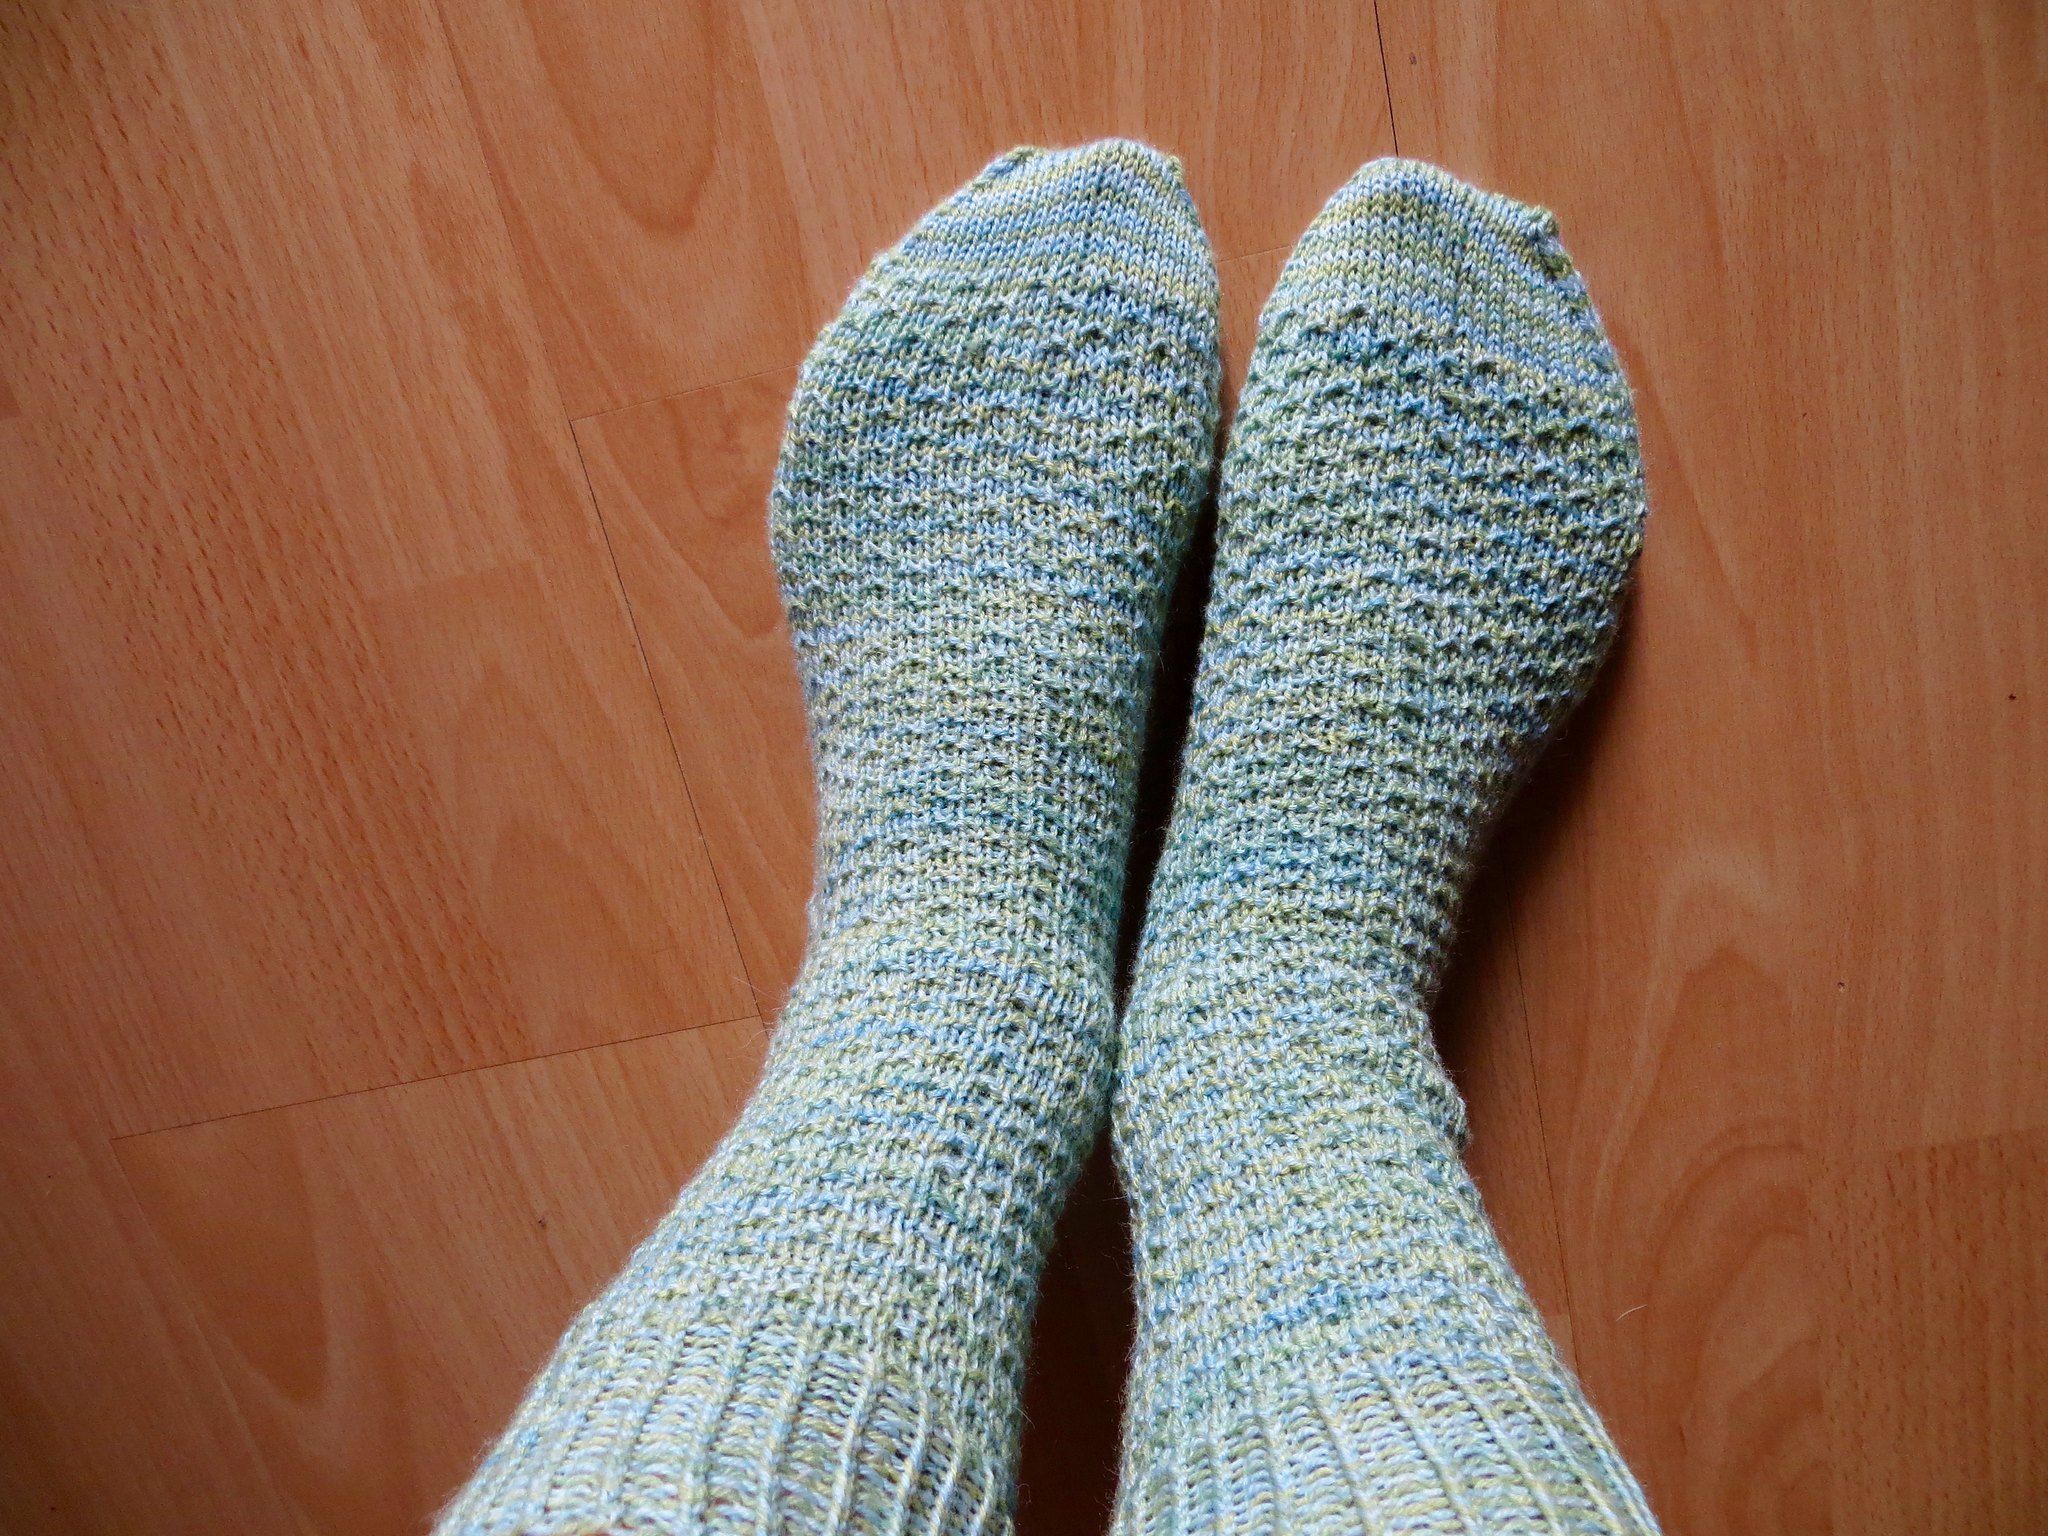
 In between all those hats, I even managed to knit a pair of socks, which I really love! I used the very popular free pattern Hermione's Everyday Socks from ravelry and my own plant dyed sock yarn:
plant dyed sock yarn (birch leaves and indigo) photographed in summer 2015

plant dyed socks photographed in winter 2015 (the summer colors are more accurate for sure!)

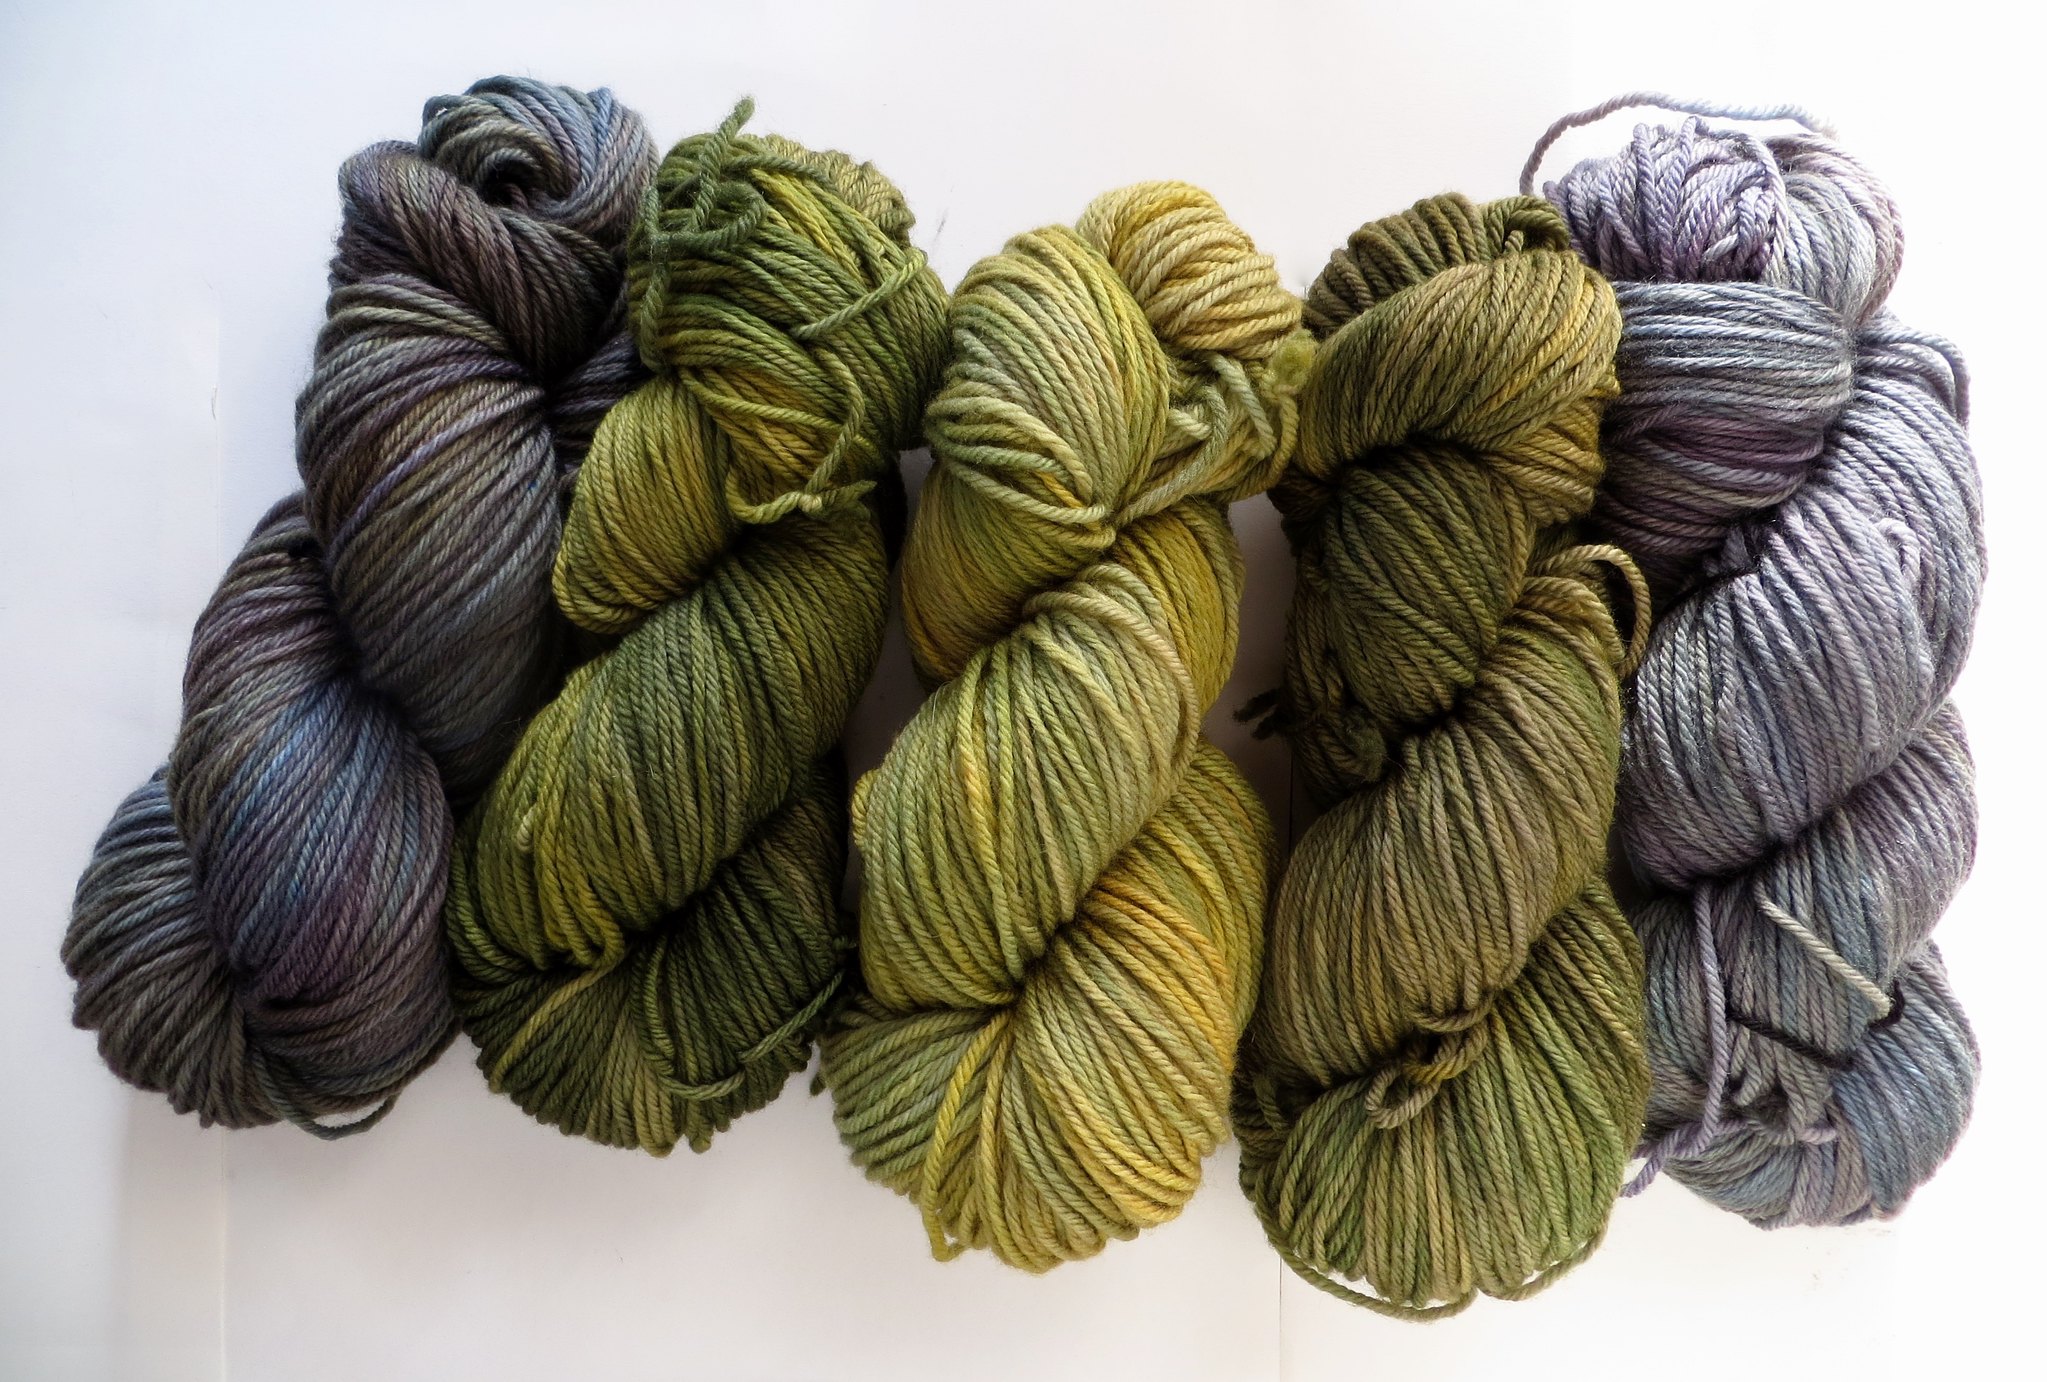
"Dunkel yarns"

Recently I also got much more into yarn dyeing with acid dyes. I am having so much fun with it, and I love the layered semisolid look of the yarns.
Not so much spinning, as spinning only white fibers can be quite boring. And I want to dye yarns this time around, not rovings :)
Maybe soon there will be some handdyed yarns in my etsy shop, it's long overdue that I revive that shop again!

dunkel dk in "rainy day", "my green sofa" and "hay bale"


my absolute favorite: "rainy day"

"rainy day" photographed in the sun


Plans for 2016

I will spend the beginning of the upcoming year once more in the hot summer of Brazil! Nevertheless I have plans for knitting, especially during the 12 hour flight. I am planning to make a stripey cardigan out of my handdyed dunkel dk yarns. Just top down, raglan increases, a bit  of bust shaping and color changes, similar to the paulie cardigan on ravelry.

Other than that, I have the goal to make more garments in the next year. I just love knitted cardigans, and hardly ever make any, because I am afraid it would take too long. So that should change!

A beautiful pattern on my radar is the hooded cardigan Kerrera by Gudrun Johnston. Such an amazing design! I am planning to knit it out of Madelinetosh Vintage.

Other plans? Be happy and enjoy what I am doing. And to finish my PhD :-P

Wish you all a Merry Christmas and Happy New Year!

Sunday, 1 November 2015

Time is flying... or standing still?


The last few weeks my life was a high speed train, buzzing from one topic to the next.
Somehow we have arrived in November now and it feels like I did a non-stop trip from summer to autumn... Now let me write a blog post to summarize what happened in the last couple of weeks (or better months?).

 Time is flying...

In August I was busy searching a new appartment. My renting contract was running out by end of September due to a planned demolition of the building. Luckily, I found a new place in a nice calm area, well connected to public transport. Finding affordable appartments to rent in the city of Zurich is a really hard and tiring thing.


By the beginning of September my boyfriend arrived. We haven't seen each other for eight months (long distance relationship), so this was quite a change (a good one though!)

Right after he arrived, we had to start packing boxes and getting ready for the move. Luckily it went all very smoothly, thanks to my great dad, brothers and friends!

One secret truth was revealed to everybody who helped though: I own more wool than shoes, clothes and bags all together...


my life in boxes (half of them contain wool).


Soon after the move we travelled for a weekend to Stresa, Italy to attend a wedding. This place was just amazing!!


Borromean islands in Stresa, Italy.


The weekend after that I had to leave for a conference to Rio de Janeiro to give a talk about my research project, and all the weeks before this trip were already filled with a loooot of work, "last" experiments, more last experiments, confusing results, burning fuses in my brain, ....until I was ready for the talk.
The trip itself was also quite exhausting... 15hours of flying, commuting from hotel to the conference and searching food in a bustling city....


View from the roof top of my hotel in Rio.

I was glad to be back home in the end!
And then October was here... no crazy travels anymore this month, but still a lot of work while starting to set up the new home and enjoying times together with my boyfriend :)
This is how we finally arrived in November.

(photo taken by my adorable boyfriend)

Time was standing still 

... when it came to my crafting activities.
I am so sorry for everybody who is waiting for something they ordered from me :(

Somehow I just couldn't move on even with the most simple projects, and I was too exhausted in my free time to pick up spinning or knitting. I think every crafter knows these phases, don't you?

There was this short-sleeve raglan jacket I finished already in August. It is technically finished, but I should secure all the ends of the stripes with sewing thread, because unfortunately i cut the threads too short :(
Promise to myself: leave enough thread for darning ends in the future!!!

The yarn I died myself with indigo, and the jacket will be for my mum:

indigo cardigan


Then there is this "birch tree" shawl I am designing, using yarn died with birch leaves and indigo. I made quite fast progress in the beginning, but the last weeks it was just lying around. It travelled to Italy and to Brazil with me, but I didn't even pick it up once!!!

birch tree shawl

birch tree details


Then there was an old friend of mine asking me to make a hat for him and one for his daughter. He wanted simple, stockinette stitch hats, in greens or browns. Simple and fast, you think? It took me weeks to get it done, I really don't know why... But finally I managed to finish the second one and then I shipped them so quickly that I even forgot to take a picture :D

hat knitting


Spinning projects.... My wheel was just turning just a veeeeery little bit.
There were these gradient rolags I handcarded myself out of a kettle dyed Merino roving. In July I spun more than 3/4 of the rolags on one weekend, but since then I could never do more than one rolag a day (about 1-2g). So it moved on veeeeery very slowly.
It is the bobbin on the right, and I hope to get to ply it soon (I honestly forgot which colors are hiding under the purple):


spinning


(The bobbin on the left shows the single spun from a handcarded tweedy batt back in July. I didn't get to ply it yet.)


I don't want my crafting timeline to stand still anymore, and hope to be able to put more work into my wooly projects in the next couple of weeks!

Happy autumn to everyone!


Tuesday, 16 June 2015

Dyeing...

After the reed blossom natural dye I went for another dye plant that was in my stock for almost two years. I collected these birch leaves on midsummer day in 2013.
Only 30 grams of leaves gave an intense yellow on two 100g skeins of DK yarn.


The yarn was mordanted first with alum, while the leaves were allowed to boil a bit for dye extraction.
Then I poured the mordanting water into the dye bath and hung only a section of each skein into the simmering "birch leave tea". After a little while, I added more of the skein and more and more... In the end I put the whole skeins into the bath and let it cool over night.
Then the skeins were removed and washed.
Into this almost exhausted dye bath I gave a spoon full of alum, heated and let a part of a skein of sock yarn hang into it, heated it up for a short time and then let it stand for a day (at room temperature). It also got a pretty soft yellow... I'm planning to use that skein for some indigo dyeing.

Apart from plants I was also pretty productive with acid dyes and tried myself at kettle dyeing...
The roving was immersed completely in a pot of water. Different dyes were added in different sections of the pot. The dyes spread a bit and talk to each other.... as a result I got very harmonic colors that fit together so well.

For the following two rovings I only used Ashford hot pink, blue and yellow (no black or other colors). So beautiful!


left: BFL wool, right: Merino 16 mic


And as I am showing dyed stuff already.... the following was dyed already some months ago, but I never showed them. Pure Tussah silk and merino/silk blends. They were dyed using the handpainting method, wrapped in foil and steamed to fix the dyes.


When am I going to spin all that??!!


Sunday, 7 June 2015

Natural Dyeing - Reed Blossom

This weekend I finally found a little bit of time to dye a skein of yarn with natural dyes.
I have collected a huge number of natural dyes already, that are all waiting for their day in the dye pot:
- onion skins (brown and red ones, collected over many months in my kitchen)
- birch leaves (collected on midsummer day in 2013)
- madder (bought)
- myrtus leaves (bought)
- alcea rosea (collected during walks through Zurich, they grow everywhere here)
- sandal wood (bought)
- annatto (collected myself in brazil)
- reed blossoms (collected in 2014 in the park of my university)
- cochineal (bought as an "easter egg dye")
- (probably more than I remember now!)

Unfortunately I could never find time to use them. This weekend I just felt like this summer I should change that and at least try some of my natural dyes :)

I started by using reed blossoms which I collected last year together with my boyfriend in the park around my university.

me collecting reed blossoms in August 2014

I am a bit short on time usually and a bit lazy ;-) So I used the following heavily modified version of a recipe found in the book "Naturfarben auf Wolle und Seide" by Dorothea Fischer.

Ingredients
- 30 g of dried reed blossoms
- 100 g of sock yarn (Bluefaced Leicester 75%, Nylon 25%)
- 15 g of alum
- 1.5 teaspoons of iron sulfate
- 2 pots (a small one for about 1-2 liters and a larger one for about 5 liters)
- piece of cloth to tie the plant material in plus an old hairband or a piece of string.

Mordanting
dissolved the alum in a bit of hot water, added more cool water and the yarn, so that it was just covered. Heated and let simmer for about 30 min. This I did in the larger pot!

Preparing the Dye Plant
This can be done at the same time as the mordanting. 
Cut the reed flowers into small pieces using scissors. Put the plants into the smaller pot and added water to cover, heated and let simmer for about 30 min. Then I filtered the mixture through a piece of cloth, letting the liquid run directly into the larger pot (where the yarn-mordant mixture is). The cloth was tied together with an old hairband and also placed in the larger pot.

Dyeing
Many recipes will tell you now to simmer the yarn for one hour, then taking it out and putting a second skein intho the bath which will again stay for one hour and get a lighter color. I don't like pastel colors so much, I want strong colors. As my dyebath already has quite a low content of dyeing material (30%, most recipes take 100%), I wanted to let that skein in as long as possible to exhaust all the dye it can...

I let the yarn simmer on low heat for about 1 hour, then I switched off the heat and left the mixture stand over night. On the next day, I turned it on again and let it simmer on low heat for about 2-3 hours. Sometimes I added more water to cover the yarn completely.
During this time you don't need to watch the pot, you can easily clean the house, go to the post office, grocery shopping, etc ;-)

Color Modification with Iron Sulfate
I took out the skein and placed it in a strainer over a pot (the smaller pot from the beginning). I removed the bag with the tied dye plants and added about 1.5 teaspoons of iron sulfate to the mixture. Then I let hang half of the skein into the dye pot, keeping the other half in the strainer.
The half in the pot will now get a darker color giving a two-colored semisolid skein :)
After simmering for about 30 min, the skein was removed from the pot. Be careful that the color modified part, does not touch the unmodified part because this can give stains!
After letting the skein cool a bit on the strainer it was rinsed with warm water, washed with a mild fiber soap and further rinsed until the water stayed clear.

Let it dry... and tadaaa: Isn't it wonderful? You can see the lighter green, which is the unmodified color of the reed blosssoms and the darker green modified by the iron sulfate.


Here is the skein together with some other plant dyes yarns I did before in similar methods:

left to right: two solar dyed skeins (multicolor yellow-orange-pink), reed blossoms (green), privet berries (petrol), dahlia flowers (bright orange).
I hope to be able to show you more natural colors this upcoming summer! :)


Monday, 13 April 2015

"Sunray Shawl" - Free Knitting Pattern!

Wohooooo I just published my design "Sunray Shawl" two days ago as a free ravelry download.
Somehow it has become super popular... thank you all for your comments, and for taking the pattern into your favorites!
I can't believe it!

More than 800 hearts already and Top 3 position in the ravelry "hot right now" click charts...


Find the pattern here:
http://www.ravelry.com/patterns/library/sunray-shawl-2


Many people keep asking me about the yarn that I used. It is my own handspun yarn, from a roving out of Polwarth/Silk dyed by the wonderful Sidi from http://sidispinnt.ch/


Sunday, 1 March 2015

Batts, Artyarn, and a Video!

Camel-silk combing waste carded into batts

Color Theme: Underwater


This is how it looks like on the bobbin...


... and this is how it looks like when I spin this :D
Sorry, it's in German. But you can jump to minute 3:30, there will be only spinning and music!


Wednesday, 25 February 2015

** Epona **

By the end of 2014 I took the Craftsy online class "Shawlscapes" which is taught by Stephen West.  I really enjoyed this class, Stephen is such a funny instructor and I had to watch all the lessons at once!

In the class you learn how to design your own top-down shawl with Stephen West's techniques. He talks about how to use increases (yo, m1r/m1l, ktbl etc.) and distribute them in order to achieve certain shawl shapes (triangle, long wingspan, semi-circular, shawls with more than one "point", etc.). How to play with color, how to go crazy and improvise a bit. And finally there are a lot of helpful tricks that you can use also in other projects than shawls.

Well, after watching this, of course I wanted to design a shawl. And I wanted to make it for my sister!
I took notes of it too, but I'm not sure I could write a pattern out of them :-P
I'm not even sure if I could knit it again to be exactly the same... :- S


Here it is:


The yarn is  Merino 150 from Lang Yarns (Sport weight) and I used 4.0 mm needles.
I did "double increases" at the beginning and end of the row to get a wider wingspan. In the beginning I used yarn-overs and decreases to create this wavy "peacock" pattern. Afterwards there are some garter stitch sections, along with intuitive color changes to create the stripes. The shawl was finished by a section of seed stitch followed by two ribs of garter stitch in contrasting colors, and finally a pretty i-cord bindoff (was my first time, and I loved it!)

The finished scarf got the name "Epona".
I like to generate random names using this website here: *click* 
When it came up with the name "Epona", I thought it couldn't be more perfect. My sister is the biggest horse lover I know :)

I also made some fingerless gloves for my sister, to match the shawl, but forgot to take pictures of them...
They are in the lavender purple shade and are finished with a dark brown i-cord like the shawl.

 
Here's the link to the shawl in my ravelry projects. If you also watched "Shawlscapes" and got inspired, I would be happy to hear from you and see the shawl that you produced :)


Sunday, 25 January 2015

Wave after Wave - Swap/KAL in the chantimanou ravelry group

Quite some time has passed without a blog post. I had the pleasure to spend my Christmas/ New Year holidays in Brazil where my boyfriend lives and where it is summer right now.


During the 12 hour flight from Zurich to Sao Paulo I cast on the "Wave after Wave". I could use the flight very efficiently and finished about 3/4 of the scarf :)
I did 11 repeats using 5.5 mm needles. The pattern is super easy and perfect for knitting "out of home", but at the same time, knitting the waves using short rows is a lot of fun, so that I didn't even use the on-board entertainment system on the plane :-P

Here are the pictures of my finished scarf! After blocking, it became a lot longer than I originally intended... it measures 206 cm x 20 cm. Perfect to wrap twice around the neck!


I have written a post about the yarns that I spun for that project here. The thread about this swap on ravelry (where you can admire the projects of all the other participants) is here.